How to Cook Strip Steak on Stove: Fast, Easy and Incredibly Delicious
Table of Contents
How to Cook Strip Steak on Stove: Fast, Easy, Incredibly Delicious
Imagine it’s been a long day, and you just want a delicious, juicy steak. No need for a fancy grill or waiting for coals to heat up. Just you, your kitchen, and the sound of sizzling perfection. Think again. Making a restaurant-quality New York strip steak at home is easier than you think.
No need to fight the weather or deal with big equipment. Your stovetop is the key to a perfect, caramelized crust and a tender center in minutes. This method is great for busy weeknights or last-minute dinners. It works well with thick cuts or more affordable options too.
Key Takeaways
- Skip the grill—your stove creates perfect sear and juiciness
- Cook times under 15 minutes for busy schedules
- Simple seasoning lets the steak’s natural flavor shine
- Cast-iron skillet techniques for professional results
- Adaptable methods for different thicknesses and preferences
Learn how a hot pan, basic ingredients, and a few tips can make your kitchen a steakhouse. Ready to make that New York strip your weeknight go-to?
Understanding Strip Steak
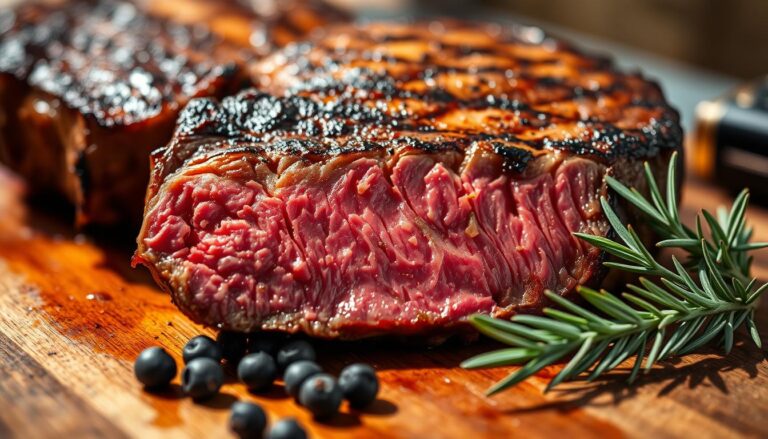
Strip steak is a standout in the beef world. It offers a perfect mix of flavor and texture. Whether you grill or pan-sear, knowing your cut makes meals restaurant-quality. Let’s explore why this steak is a must-have in your kitchen.
What Makes Strip Steak Special?
The secret is its marbling – thin streaks of fat that melt when cooked. This natural basting keeps the meat juicy and boosts its rich flavor. Look for USDA grades like Prime and Choice for the best marbling.
“A well-marbled strip steak is like edible gold – it rewards patience with every bite.”
Different Cuts of Strip Steak
Not all strip steaks are the same. The New York Strip (boneless) cooks evenly, while the Kansas City Cut (bone-in) adds extra flavor. Here’s a comparison:
| Cut Type | Marbling Level | Cooking Time* | Best For |
|---|---|---|---|
| New York Strip (Boneless) | Moderate-High | 6-8 mins | Quick Weeknight Meals |
| Kansas City (Bone-In) | High | 8-10 mins | Special Occasions |
| Porterhouse | Very High | 10-12 mins | Combination Lovers |
*Medium-rare (1″ thick steak) Includes strip and tenderloin
Bone-in steaks cook a bit longer but taste richer. When buying, choose meat that’s bright red with creamy white fat. Avoid grayish meat or dry edges.
Preparing Your Strip Steak
Great steak starts long before it hits the pan. Proper preparation ensures juicy results and maximizes flavor. Let’s break down three critical steps that transform raw meat into a restaurant-quality meal.
Choosing the Right Cut
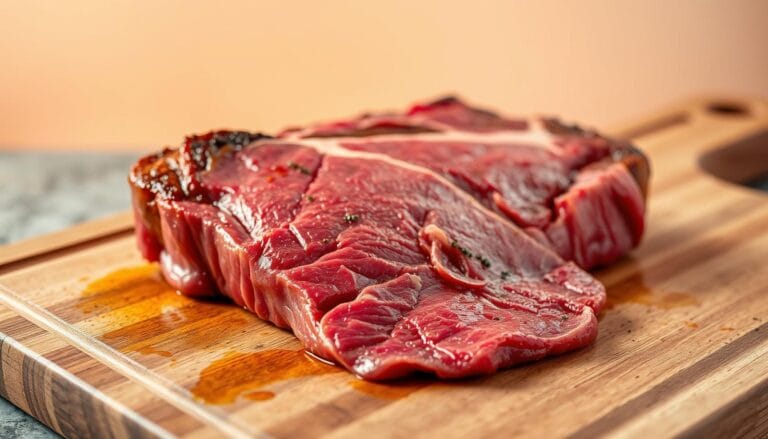
Steaks should be 1–1.5 inches thick. Thin cuts dry out quickly, while thicker ones cook unevenly. Marbling (those white fat streaks) matters more than size. More marbling means richer flavor and tenderness. Opt for USDA Prime or Choice grades when possible.
Thawing Frozen Steak
Never cook frozen steak directly – uneven thawing ruins texture. Use these safe methods:
- Fridge method: Place steak on a plate for 24 hours
- Cold water bath: Seal steak in a bag, submerge in water (change every 30 minutes)
Pat the steak dry with paper towels before seasoning. Moisture prevents proper searing.
Essential Seasoning Techniques
Salt is your best friend here. For every pound of steak, use 1 teaspoon of kosher salt. Apply it 40 minutes before cooking – this “dry brining” draws out moisture, then pulls it back in with the salt for deeper flavor penetration.
Hold the pepper until after cooking. High heat can burn ground peppercorns, creating bitter notes. Finish with freshly cracked pepper during resting for aromatic boldness.
Tools You’ll Need
Cooking a New York strip steak in a pan needs more than just good meat. You also need the right tools. These tools help you cook a great steak on the stove.
Selecting the Right Skillet
Cast iron is the best for cooking steak on the stovetop. It keeps heat well, making a perfect crust. A 12-inch skillet is big enough for 1-2 steaks without crowding.
If you prefer stainless steel, choose heavy-gauge. This prevents hot spots.
Importance of a Meat Thermometer
Don’t guess when cooking steak. Use a ThermoPro TP-03 for quick and accurate readings. It’s key for getting your steak just right.
Stick the thermometer sideways into the thickest part. This way, you can check the temperature without moving the steak.
Other Useful Kitchen Tools
- Long-handled tongs: Flip steaks safely without piercing the meat
- Splatter screen: Contains oil sprays while allowing steam escape
- Wire resting rack: Prevents soggy bottoms during post-cook resting
- Basting spoon: For butter herb sauces (optional but recommended)
With these tools ready, you’ll cook NY strip steak in a pan like a pro. You’ll get from the first sear to the final plate perfectly.
The Cooking Process
Learning to cook New York strip steak on the stovetop can make any meal special. We’ll cover the three key steps to get that perfect flavor and crust.
Heating the Skillet
Begin with a heavy-duty skillet, like cast iron. Heat it on medium-high until it hits 450°F. This should take 3-5 minutes. Check if it’s ready by sprinkling water: if it sizzles and disappears fast, it’s ready.
Adding Oil: What to Use
Avocado oil is your go-to. It has a high smoke point (520°F), so it won’t burn at high heat. Use about 1 tablespoon to lightly coat the skillet. Too much oil causes smoke, and too little leads to uneven cooking.
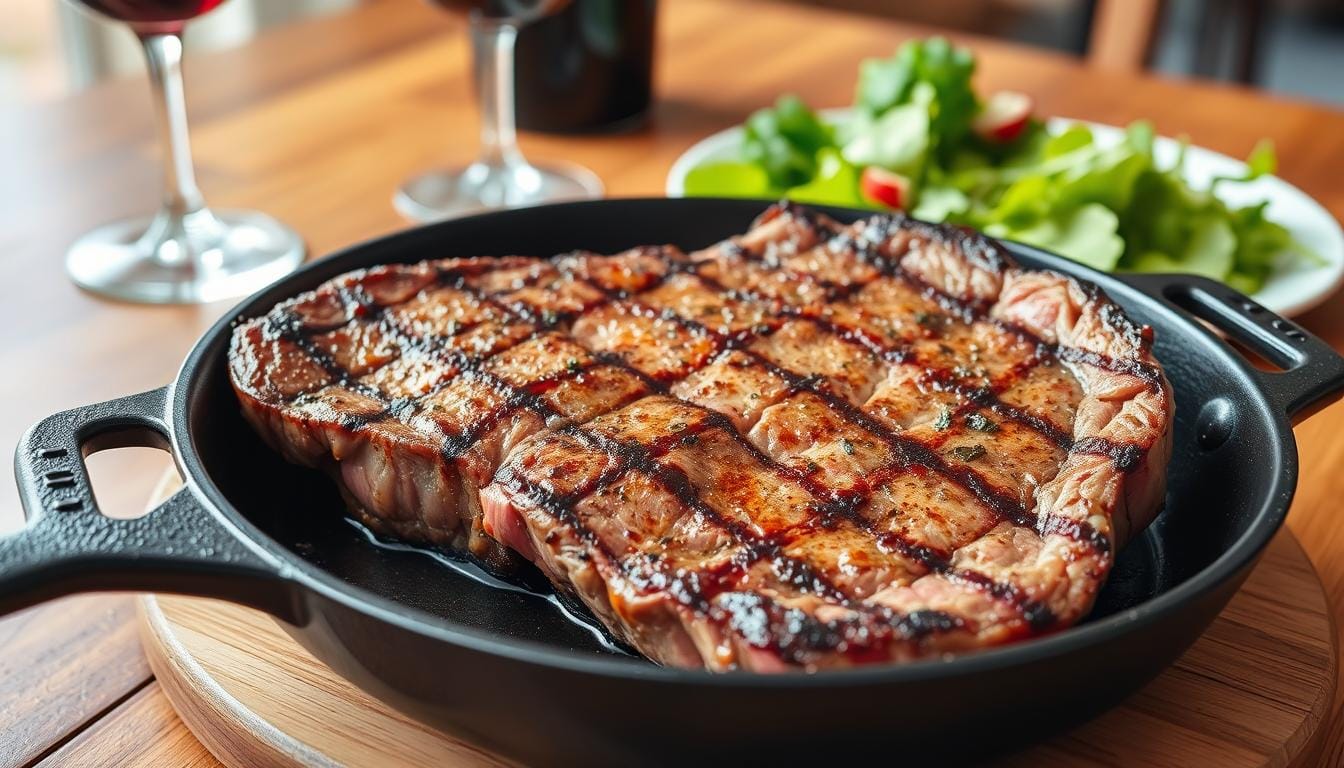
Searing: The Key to Flavor
Put your steak in the skillet and press it down. Don’t move it for 60 seconds. This step is called the Maillard reaction, where the steak browns and gets its flavor. Flip it once and sear again. You’ll see a golden-brown crust.
Pro tip: If smoke comes up, turn down the heat a bit. Perfect searing needs high heat and the right timing. Your steak should come out of the pan easily when it’s caramelized right.
Cooking Times and Techniques
Getting your strip steak just right needs careful timing and method. Whether you like it rare or medium, these tips will help you get it right every time. Let’s explore the science behind cooking your steak to perfection.
Determining Doneness
Forget guesswork—a meat thermometer is your best ally. Stick it into the thickest part of the steak for accurate readings. Here’s what to aim for:
| Doneness | Internal Temperature |
|---|---|
| Rare | 125°F |
| Medium-Rare | 135°F |
| Medium | 145°F |
Take the steak off the heat 5°F before your target. This lets the residual heat finish cooking it. It keeps the juices in and prevents overcooking.
Flip Timing: How Often to Turn Your Steak
Flipping your steak 2–3 times makes it cook more evenly. This method cuts down on gray bands and cooks faster by 30%. Listen for the sizzle—when it slows, it’s time to flip.
“Multiple flips mean better heat distribution. It’s like giving your steak a mini massage!”
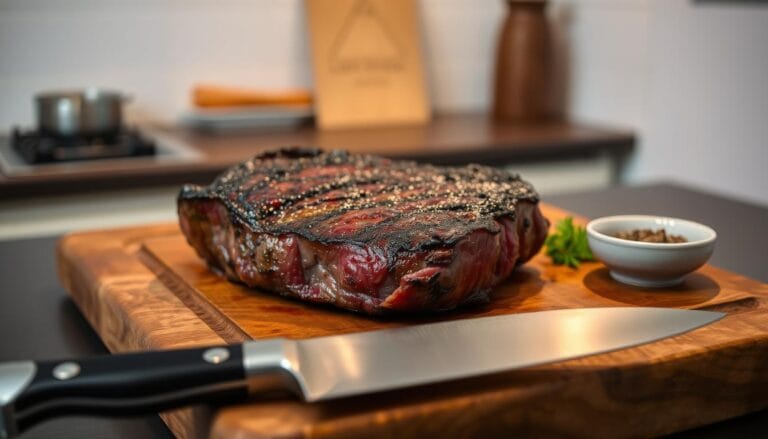
Resting for Perfect Juiciness
Never skip the 5-minute rest. Put your steak on a warm plate, loosely covered with foil. This lets the muscles relax and reabsorb juices. Cutting too soon? You’ll lose up to 60% of those flavorful drippings.
- Resting time: 5 minutes minimum
- Juice retention: Up to 90%
- Temperature rise: 3–5°F during rest
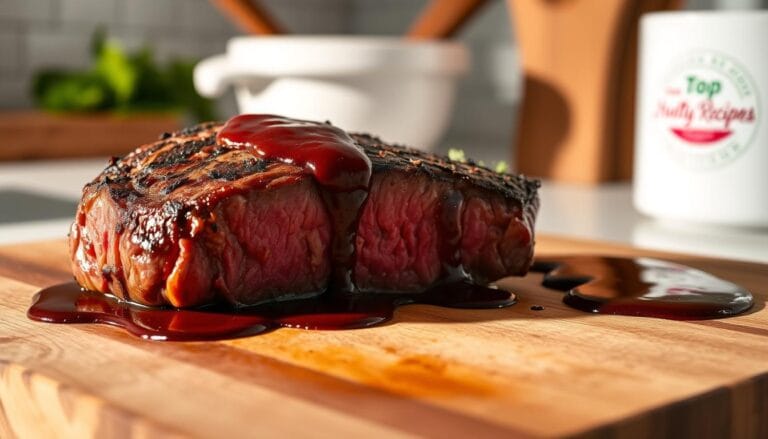
Enhancing Flavor with Butter
Mastering butter basting at home can make your strip steak taste like it’s from a restaurant. This method adds a rich, caramelized crust to your steak. It’s all about using simple ingredients and knowing when to add them.
How to Baste with Butter
Begin by melting 2-3 tablespoons of unsalted butter in the skillet for the last 2 minutes. Tilt the pan slightly to spread the melted butter evenly. Then, use a spoon to drizzle it over the steak constantly.
This keeps the butter from burning and ensures the steak is evenly coated. Cook on medium-high heat but watch for smoke. If the butter starts to darken too fast, lower the heat a bit. Baste for 60-90 seconds on each side to add richness without overcooking.
Adding Herbs for Extra Flavor
Add fresh herbs and aromatics after the butter melts to avoid bitterness. Some great pairs are:
- Rosemary + crushed garlic cloves
- Thyme + cracked black pepper
- Sage + lemon zest
Press the herbs into the butter with your spoon to release their oils. Remove them from the pan when they smell fragrant, usually in 30 seconds. Burnt herbs can ruin the steak’s flavor, so timing is key.
Side Dishes That Pair Well
A perfectly seared strip steak needs sides that boost its flavor without taking over. Whether you want comforting food or fresh bites, these pairings make your steak unforgettable.
Classic Accompaniments
For a decadent steakhouse experience, try creamy loaded mashed potatoes. Mix sour cream, chives, and crispy bacon bits into fluffy Yukon Gold potatoes. This creates a velvety texture that pairs well with juicy steak. Creamed spinach is another classic choice. Its earthy taste and silky sauce balance the meat’s bold char.
Grilled Vegetables
Lighten your plate with smoky charred asparagus. Toss spears in olive oil, sprinkle with sea salt, and grill until tender-crisp. Zucchini and bell peppers also shine when caramelized. Their natural sweetness contrasts beautifully with savory steak. Pro tip: Add a squeeze of lemon to brighten the veggies.
Simple Salads to Balance Your Meal
A peppery arugula salad cuts through richness effortlessly. Toss greens with shaved Parmesan, cherry tomatoes, and a zesty lemon vinaigrette. For crunch, try a kale salad with toasted almonds and dried cranberries. Both options add freshness without overwhelming your main dish.
“The right side dish doesn’t just complement steak – it creates harmony on the plate.”
Mix and match these ideas based on your mood. Hearty mashed potatoes suit cozy dinners, while grilled veggies and salads keep summer meals light. Your steak’s flavor remains the star – these sides are the supporting cast it deserves.
Troubleshooting Common Issues
Even the most skilled cooks face challenges when cooking steak. Let’s look at two common problems and offer solutions to save your meal.
What If the Steak Is Too Tough?
A tough New York strip can come from slicing wrong or cooking it too little. Always cut against the grain to make it tender. Look for lines in the meat and slice across them.
If the steak is chewy, try these steps:
- Let it rest 8–10 minutes after cooking
- Drizzle with warm beef broth or sauce
- Serve with acidic sides like chimichurri
Dealing with Overcooked Steak
Overcooked steak can be saved. Use your oven to rescue it: Preheat to 300°F. Place the steak in a baking dish with ½ cup broth, cover with foil, and braise for 15 minutes. This makes the meat juicy again and adds flavor.
| Method | Time | Result |
|---|---|---|
| Oven-Braising | 15 mins | Restores moisture |
| Thin Slicing | 3 mins prep | Improves texture |
| Sauce Addition | Instant | Enhances flavor |
For the best results, use meat thermometers during the first cooking. This helps avoid overcooking and keeps the steak juicy.
Storing Leftovers
Leftover strip steak can be just as tasty the next day if you store it right. Just follow these easy steps to keep your steak fresh and tasty. This way, you can avoid wasting food.
Proper Storage Techniques
Act fast after you finish eating. Let the steak cool for no more than 2 hours before you store it. Here’s how to do it best:
- Wrap tightly in aluminum foil or plastic wrap
- Place in airtight container with minimal empty space
- Label with storage date using masking tape

Reheating Tips to Preserve Flavor
Don’t use the microwave if you want tender meat. Try this skillet method instead:
- Heat cast iron pan on low setting
- Add 1 tsp butter or beef broth
- Warm steak 2-3 minutes per side
- Cover pan to trap moisture
For medium-rare, check the internal temperature with a meat thermometer. Aim for 130°F. Let it rest for 3 minutes before serving. This helps the juices spread evenly.
Cooking for Different Diets
Strip steak is great for keto or gluten-free diets. With a few tweaks, you can make meals that fit your health goals. And they won’t lose any flavor. Let’s see how to make this protein-rich cut work for you.
Making It Keto-Friendly
Strip steak is a keto superstar because of its protein and fat. For a low-carb meal, try cauliflower mash instead of potatoes. Just steam cauliflower, blend with butter and cream, and add garlic powder.
Use avocado oil or ghee for searing—it’s keto-approved. Avoid sugary marinades and use dry rubs with herbs like rosemary or thyme. Basting with garlic-herb butter adds flavor without adding carbs.
Gluten-Free Options
Great news: strip steak is naturally gluten-free. But watch out for seasoning blends and sauces. Always check labels on spice mixes, as some may have wheat.
Avoid soy sauce in marinades—it often has hidden gluten. Use tamari or coconut aminos instead. For a safe flavor boost, try citrus juices or balsamic vinegar in marinades.
Understanding Marinades
Marinades are like flavor boosters for steak. They use science to tenderize and season. Acidic ingredients like citrus or vinegar mix with oils and spices.
This combo breaks down proteins and adds depth. But timing is key. Too little, and flavors stay on the surface. Too long, and the texture gets affected.
Simple Marinades That Enhance Flavor
Red Wine & Garlic (4 hours): Mix 1 cup red wine, 3 minced garlic cloves, 2 tbsp olive oil, and 1 tsp black pepper. It deepens the beef’s natural richness without overpowering.
Lime & Cilantro (2 hours): Combine juice of 2 limes, ½ cup chopped cilantro, 1 tbsp honey, and 1 tsp cumin. It brightens leaner cuts with zesty freshness.
Coffee & Chili (12 hours): Blend ½ cup strong coffee, 1 tbsp chili powder, 2 tbsp brown sugar, and 1 tsp smoked paprika. It’s perfect for bold palates – try it with venison dishes too!
Duration: How Long to Marinate
Thicker steaks can handle longer marinating times. Acidic mixtures like lime-cilantro max out at 2 hours to prevent mushiness. Coffee-chili’s lower acidity allows 12-hour marinating for deeper flavor penetration.
Pro tip: Always refrigerate marinating meat and discard used liquid. For best results, pat steaks dry before cooking to ensure proper searing.
Enjoying Your Meal
Your perfectly cooked strip steak deserves a presentation that matches its flavor. This final step turns your dish into a memorable dining experience. Let’s explore how to showcase your culinary achievement.
Serving Suggestions
Plate your steak on a warm dish to keep it sizzling. Sprinkle fresh rosemary or thyme over the meat for a pop of color and aroma. Pair it with a bold red wine like Cabernet Sauvignon – the tannins cut through the steak’s richness beautifully.

Creating a Full Meal Experience
Set the mood with soft lighting and instrumental music. Add these elements to complete your steak dinner:
- Crusty sourdough bread for soaking up juices
- Roasted garlic compound butter on the side
- Individual salt cellars for personalized seasoning
| Wine Type | Flavor Notes | Ideal Side Pairing |
|---|---|---|
| Cabernet Sauvignon | Blackcurrant, Oak | Hasselback potatoes |
| Malbec | Plum, Cocoa | Grilled asparagus |
| Zinfandel | Berry, Pepper | Creamed spinach |
Let the steak rest for 5 minutes before slicing against the grain. Arrange slices slightly overlapping for visual appeal. Place your bread basket within easy reach – the combination of crispy crust and meaty drippings creates magic on the plate.
Final Tips for Success
Mastering strip steak on the stove gets easier with practice. Start with top cuts like USDA Prime or Certified Angus Beef. Then, improve your skills by refining your technique.
Every cooktop is different. So, adjust the heat based on your stove’s performance.
Experimenting With Flavors
Add bold flavors to your steak. Try smoked paprika rubs or garlic-herb butter. Mix Diamond Crystal Kosher Salt with black pepper for a classic crust.
For a rich taste, melt blue cheese compound butter over rested meat. Kerrygold or Tillamook are great for adding creamy depth without overpowering the beef.
Encouragement to Practice and Perfect
First tries might have uneven sears or not be perfectly cooked. Use a ThermoPro thermometer to track your progress. This helps you find your preferred temperature.
Even slightly overcooked homemade steak can taste better than restaurant versions. Keep a cooking journal to note your successes and failures. Record the skillet types and oils you use.
Share your creations with friends or post them on Instagram using #StoveSteakSuccess. Each try brings you closer to making restaurant-quality steak at home.
FAQ
What’s the best cut of strip steak for stove-top cooking?
Can I cook a frozen strip steak directly on the stove?
Do I need a cast iron skillet to cook strip steak on the stove?
How do I prevent my strip steak from sticking to the pan?
What’s the best way to check doneness without a meat thermometer?
Why does my steak taste tough even after cooking to medium-rare?
How can I add more flavor to my New York strip steak?
What’s the safest way to reheat leftover strip steak?
Is strip steak gluten-free and keto-friendly?
How long should I marinate a strip steak?
For more cooking tips, stay connected with us. We also recommend the cookbook Skinnytaste Simple: Easy, Healthy Recipes with 7 Ingredients or Fewer
For more Recipes about Steak ?
Did You try our recipe ?
There are no reviews yet. Be the first one to write one.