How Long to Cook 1 Inch Steak: A Guide to Cooking Times
Table of Contents
How Long to Cook 1 Inch Steak: A Guide to Cooking Times
There’s nothing worse than slicing into a beautifully seasoned cut of beef, only to find it overcooked or unevenly prepared. We’ve all been there—standing at the stove, wondering if that sizzle means it’s time to flip or if a few more seconds will make all the difference. Getting it just right isn’t luck; it’s about understanding the balance of heat, timing, and technique.
This guide simplifies the process. Whether you’re aiming for a juicy medium-rare or a well-done finish, precision matters. You’ll learn how temperature control, proper seasoning, and smart tools elevate your results. No guesswork. No dry, chewy bites. Just restaurant-quality flavor in your own kitchen.
We’ve compiled tested methods from professional chefs and home cooks alike. From pan-searing basics to stovetop mastery, every step is designed for clarity. By the end, you’ll know exactly when to pull your steak off the heat—and why those final minutes of rest are non-negotiable.
Key Takeaways
- Proper preparation ensures even cooking and optimal flavor.
- Timing varies based on thickness, desired doneness, and cooking method.
- Pan-searing and stovetop techniques deliver consistent results.
- Seasoning and resting periods significantly impact juiciness.
- Essential tools include a meat thermometer and heavy skillet.
Selecting the Right Steak Cut
Not all steaks are created equal, and your choice at the market determines your success in the kitchen. The right cut balances marbling, thickness, and texture—three factors that shape flavor and tenderness. Let’s break down what makes certain cuts stand out and why thickness matters for stovetop cooking.
Understanding Different Steak Cuts
Ribeye and New York strip dominate menus for good reason. Ribeye boasts rich marbling, melting into buttery tenderness as it cooks. The New York strip offers a firmer bite with balanced fat distribution, ideal for those who prefer leaner yet flavorful steaks. Filet mignon, while pricier, delivers unmatched tenderness but requires careful handling due to its lower fat content.
Chefs gravitate toward these cuts because they hold up under high heat. Their structure ensures even browning without drying out—a must for pan-searing. Thickness plays a role here, too. Thinner slices risk overcooking, while thicker ones demand longer cook times.
Why Choose a 1-Inch Cut?
A 1-inch thickness hits the sweet spot for home cooks. It sears quickly, develops a crisp crust, and retains a juicy interior. This size also allows better control over doneness, especially when using a meat thermometer. Cuts like ribeye or York strip shine at this thickness because their fat renders evenly without overwhelming the meat.
When selecting your steak, look for consistent marbling and bright red color. Pair it with a simple steak seasoning—salt, pepper, and a touch of garlic—to enhance natural flavors. Remember: the right cut does half the work for you.
Preparing Your Steak for Perfection
Great results begin long before the skillet heats up. Proper preparation unlocks flavor and texture while preventing common mistakes. Follow these foundational steps to set yourself up for success.

Master the Dry Start
Remove excess moisture using dry paper towels. Pat the surface firmly—this creates space for seasoning to stick and promotes caramelization. Damp meat steams instead of searing, leading to uneven browning.
Apply salt generously 40 minutes before cooking. The crystals draw out moisture initially, then get reabsorbed to season deeply. This dual-action process enhances crust formation and juiciness.
Temperature Matters
Let your season meat rest uncovered for 30 minutes. Room-temperature cuts cook more evenly than chilled ones. Cold centers force you to overcook exteriors while waiting for internal doneness.
| Step | Purpose | Time Required |
|---|---|---|
| Pat dry | Remove surface moisture | 1 minute |
| Salt application | Flavor penetration | 40 minutes |
| Resting phase | Even heat distribution | 30 minutes |
This routine reduces fat splatter during cooking. Dry surfaces prevent oil from sputtering violently. You’ll achieve cleaner sear lines without sacrificing safety.
Keep paper towels handy throughout. Blot any new moisture that surfaces during resting. Consistency here separates good steaks from exceptional ones.
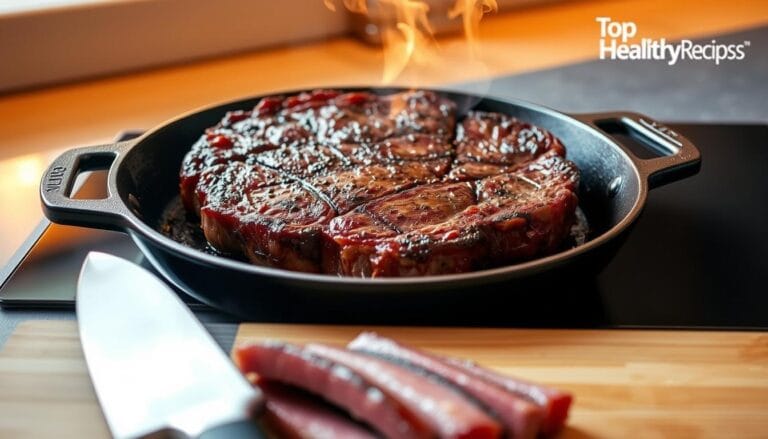
Essential Tools and Techniques for Pan-Searing
Your skillet is the unsung hero of a flawless sear. The right tools transform ordinary cuts into caramelized masterpieces, blending science and skill. Let’s explore what separates amateur attempts from chef-level results.

Choosing the Best Skillet: Cast Iron vs. Stainless Steel
Cast iron reigns supreme for heat retention. Its dense structure maintains steady temperatures, preventing cold spots that ruin crust formation. Perfect for consistent searing, especially with thicker cuts.
Stainless steel offers rapid heating and durability. While lighter than cast iron, it requires precise temperature control. Professional kitchens favor it for quick adjustments during high-heat cooking.
| Feature | Cast Iron | Stainless Steel |
|---|---|---|
| Heat Retention | Excellent | Good |
| Responsiveness | Slow | Fast |
| Maintenance | Seasoning required | Dishwasher-safe |
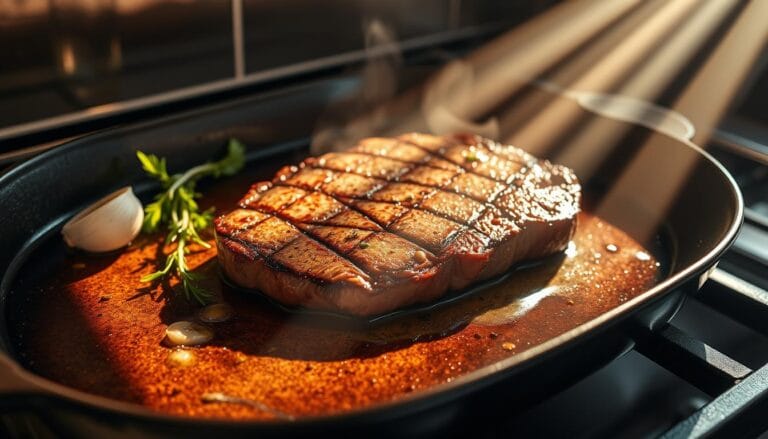
Achieving the Right Heat for a Perfect Sear
Preheat your pan until oil shimmers but doesn’t smoke. This creates instant Maillard reaction—the chemical magic behind that golden crust. For even browning, press the meat gently against hot zones.
Add butter during the final minutes. Its milk solids caramelize, amplifying flavor without burning. Tilt the skillet to baste continuously, ensuring richness penetrates every bite.
Pair these methods with complementary sides like pairing shrimp with steak for balanced meals. Remember: mastery lies in controlling fire, not fighting it.
How Long to Cook 1 Inch Steak
Precision transforms good steaks into unforgettable meals. While technique matters, timing dictates texture. Let’s explore how minutes and heat work together to create your preferred doneness.
Cooking Time Guidelines for Different Doneness Levels
A 1-inch ribeye requires careful attention:
- Rare (120°F): 2-3 minutes per side over high heat. The center stays cool red.
- Medium-rare (130°F): 3-4 minutes per side. Warm pink core with a caramelized crust.
- Well-done (160°F): 5-6 minutes per side, reducing heat after searing.
These times assume room-temperature meat and a preheated skillet. Thicker cuts may need adjustments.
Adjusting Cooking Times for Variations in Heat
High heat locks in juices quickly but risks burning. If your pan smokes, lower the flame slightly. For gas stoves:
| Doneness | Initial Heat | Adjusted Heat |
|---|---|---|
| Medium-rare | High (3 mins) | Medium (1 min) |
| Well-done | High (2 mins) | Low (4 mins) |
Electric stoves retain heat longer. Continue cooking 30 seconds less than gas guidelines. Always verify with a meat thermometer—insert it sideways for accuracy.
Resting matters as much as active cooking. Transfer your steak to a warm plate and let juices redistribute. This final step ensures every bite stays moist.
Mastering Searing and Basting for Maximum Flavor
A golden crust isn’t just eye candy—it’s the gateway to flavor town. Proper technique here elevates texture and taste, turning simple ingredients into something extraordinary. Focus on heat management and aromatic enhancements to maximize results.
Using Butter and Fresh Thyme for Basting
Let your steak sit untouched for the first 2-3 minutes. This allows the sear to develop a crisp, caramelized layer. Disturbing it early breaks contact with the pan, risking uneven browning.
Add butter and sprigs fresh thyme once you flip the meat. Tilt the skillet, spooning melted butter over the surface repeatedly. The herbs release earthy notes while the fat distributes heat gently.
“Basting isn’t just moisture—it’s flavor layering,” notes a grill master. “Each spoonful adds depth.”
| Timing | Action | Effect |
|---|---|---|
| After searing | Add butter & thyme | Prevents burning, infuses flavor |
| Last 2 minutes | Baste continuously | Enhances richness, keeps juicy |
A proper sear locks in juices, creating a savory contrast between crust and center. For steak stovetop success, use high heat initially, then lower it slightly when adding aromatics.
Fresh thyme sprigs work best—their stems withstand heat better than dried leaves. Remove them before serving to avoid bitterness. Pair this method with a rested cut for flavor that lingers in every bite.
Resting and Serving Your Perfect Steak
Your masterpiece deserves a grand finale. The sizzle may have stopped, but patience now determines whether those juices stay locked in or end up on the cutting board. This phase bridges cooking and eating—where science meets satisfaction.
Allowing the Steak to Rest for Juiciness
Resist the urge to slice immediately. Letting your cooked steak rest 5-10 minutes allows muscle fibers to relax. This pause lets juices redistribute evenly instead of spilling out when cut.
- 5 minutes: Minimum for thinner cuts—prevents dryness
- 8-10 minutes: Ideal for 1-inch thickness—maximizes tenderness
Cover loosely with foil to retain warmth without steaming. The internal temperature rises 5°F during this phase, finishing the cooking process gently.
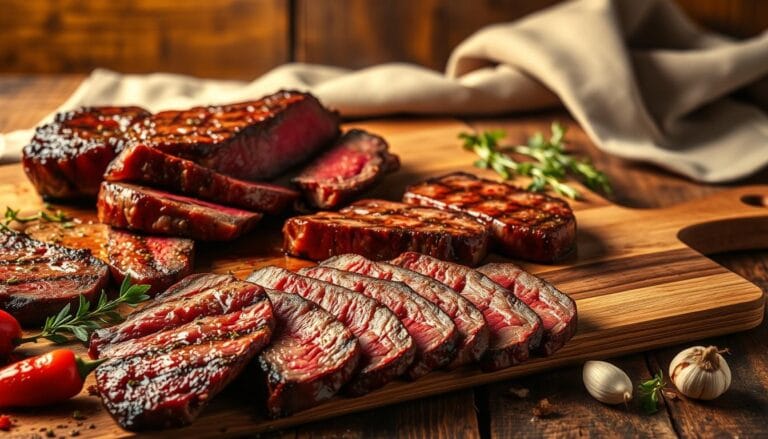
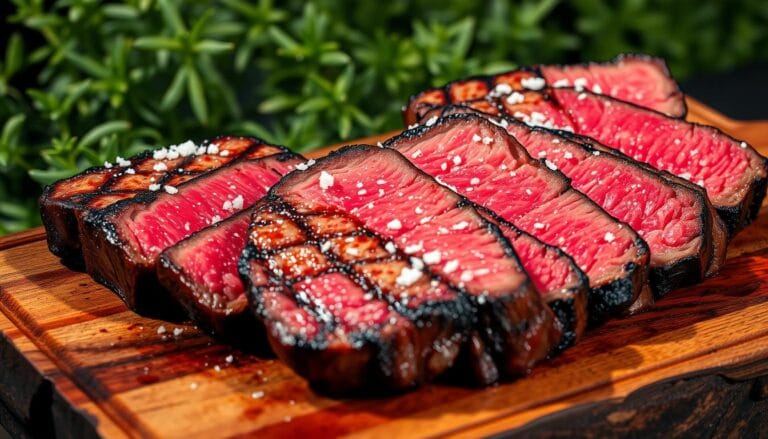
Slicing Technique and Presentation Tips
Cut against the grain to shorten muscle fibers. This simple move transforms chewy bites into melt-in-your-mouth experiences. Angle your knife at 45 degrees for elegant, restaurant-style slices.
| Presentation Element | Effect |
|---|---|
| Warm plates | Maintains ideal serving temperature |
| Herb garnish | Adds color contrast |
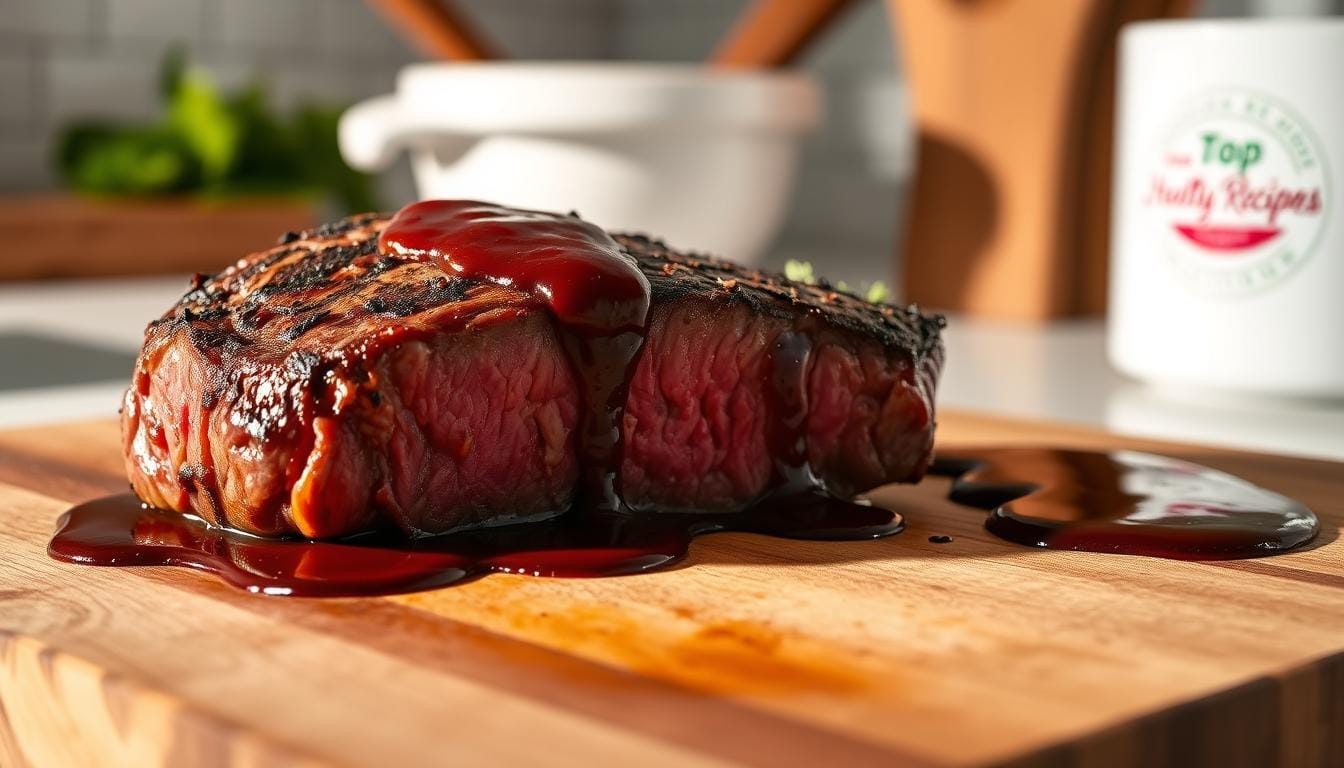
| Juice drizzle | Amplifies flavor depth |
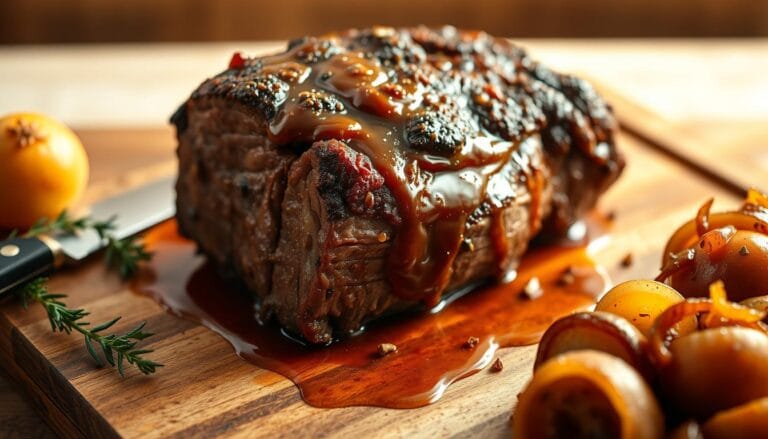
Pair with sides like roasted asparagus or garlic mashed potatoes. Pour accumulated juices over the top for an instant sauce. Every detail elevates your meal from fuel to feast.
Conclusion
Unlock the secrets to steakhouse-quality meals in your own kitchen. Timing, temperature control, and preparation form the foundation of every perfectly cooked steak. Whether using a ribeye or New York strip, your choice of tools—like a cast iron skillet—ensures even heat distribution and caramelized crusts.
Proper seasoning and resting periods lock in juices, while precise stovetop techniques prevent overcooking. Experiment with herb-infused butter or pair your creation with roasted potatoes for balanced flavor profiles.
This guide equips you with chef-approved methods to replicate restaurant results consistently. Revisit these recipe tips whenever you fire up the pan. With practice, each sizzle brings you closer to mastering the art of steak perfection.
FAQ
What’s the best steak cut for a 1-inch thickness?
Why should I pat the steak dry before cooking?
How does room temperature affect cooking time?
Is a cast iron skillet better than stainless steel?
What’s the ideal heat level for pan-searing?
How long do I cook a 1-inch steak for medium-rare?
Can I use herbs like thyme while cooking?
Why is resting the steak important?
Should I trim the fat before cooking?
What sides pair well with a pan-seared steak?
For more cooking tips, stay connected with us. We also recommend the cookbook Skinnytaste Simple: Easy, Healthy Recipes with 7 Ingredients or Fewer
For more Recipes about Beef?
Did You try our recipe ?
There are no reviews yet. Be the first one to write one.