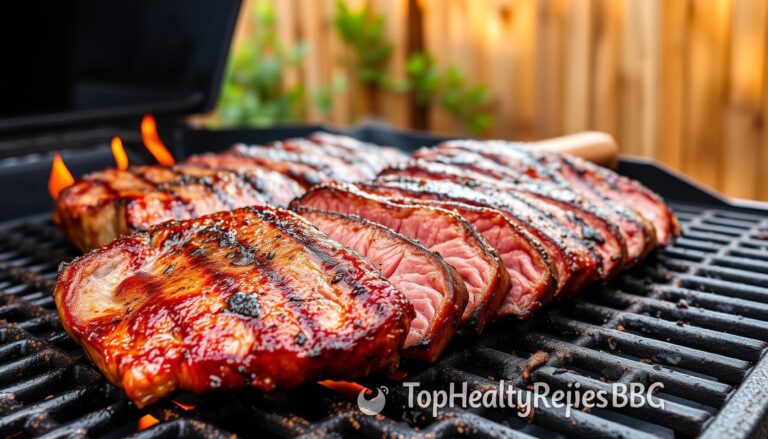
How Long to Grill Steak Well Done Time Perfectly
Table of Contents
How Long to Grill Steak Well Done Time Perfectly and with easy way
There’s something special about gathering around the flames with friends and family, the smoky aroma filling the air as laughter echoes. But if you’ve ever nervously watched a cut of beef sizzle, wondering if it’ll turn out dry or undercooked, you’re not alone. Getting that ideal balance of tenderness and flavor takes more than luck—it demands precision.
Mastering the art of perfectly cooked meat isn’t just about heat or guesswork. It’s about understanding how to lock in juices while ensuring safety. Whether you’re hosting a backyard cookout or craving a hearty meal, this guide simplifies the process. Experts like Nick Evans and Steven Raichlen agree: success starts with the right tools and patience.
You’ll learn how to monitor internal temperatures, create a flavorful sear, and let your protein rest for maximum juiciness. Even if you’re new to outdoor cooking, these steps will help you avoid common pitfalls. Let’s turn that uncertainty into confidence—one delicious bite at a time.
Key Takeaways
- Achieving the perfect doneness requires precise timing and a reliable thermometer.
- Searing at high heat locks in flavor while preventing dryness.
- Resting your meat after cooking ensures juices redistribute evenly.
- Thicker cuts need adjusted cooking durations for consistent results.
- Quality tools, like timers and tongs, simplify the grilling process.
Understanding Steak Doneness and Internal Temperature
Transforming your kitchen into a culinary lab starts with decoding the science behind meat preparation. Every degree matters when aiming for precise results, whether you prefer bold pink centers or fully cooked textures.
Defining Doneness Levels
From rare to fully cooked, each stage has distinct characteristics. A 125°F internal temperature yields a cool red center, while 160°F creates firm meat with minimal moisture. Medium-rare (135°F) balances tenderness and structure, making it a crowd favorite.
How Internal Temperature Affects Texture
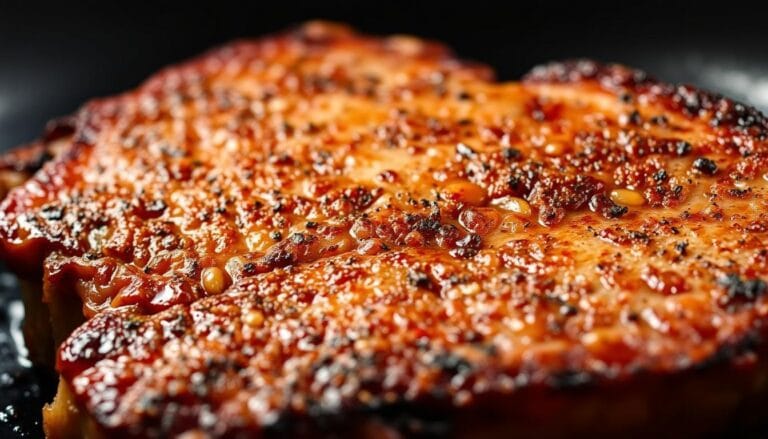
Heat triggers protein changes that determine juiciness. As the thermometer climbs past 145°F, muscle fibers tighten, squeezing out natural juices. This explains why higher temps often lead to drier outcomes.
An instant-read device becomes your secret weapon here. “Guessing leads to disappointment,” says chef Nick Evans. “Accurate readings prevent overcorrections.” Remove cuts 5°F below target—residual heat completes the job during resting.
Letting meat sit at room temperature before cooking promotes even heating. This simple step reduces shocking temperature gaps that cause uneven results. Pair this strategy with timely checks, and you’ll master consistency effortlessly.
Prepping Your Steak for the Grill
The secret to a flawless meal lies in thoughtful preparation long before the flames ignite. Properly preparing your cut ensures even cooking and maximizes flavor. Let’s break down the essentials for selecting and treating your meat to achieve restaurant-quality results at home.
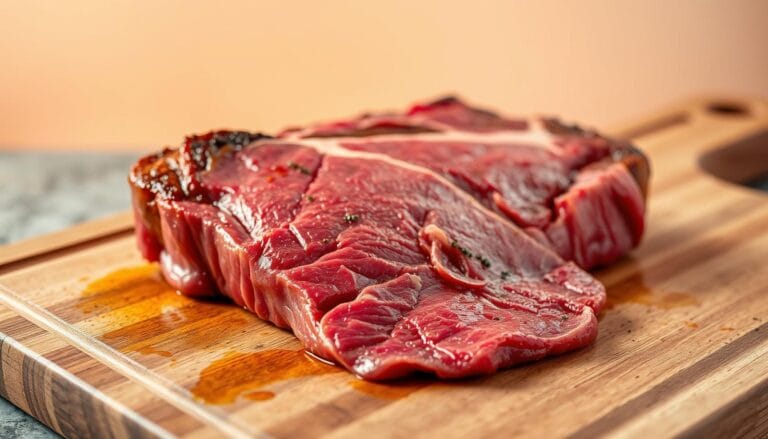
Choosing the Right Cut and Thickness
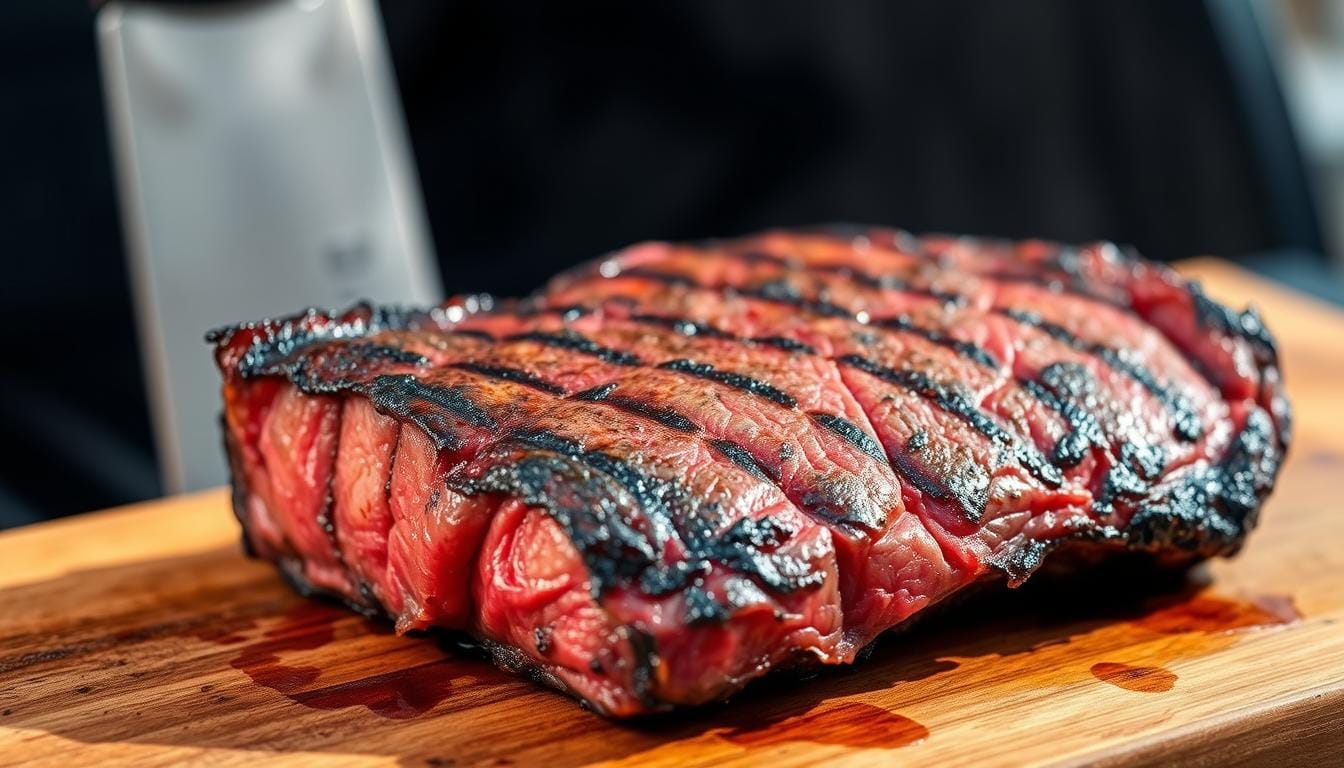
Opt for ribeye, T-bone, or Porterhouse for their balanced marbling and structure. Thicker slices—around 1½ inches—retain moisture better during high-heat cooking. Marbling (those thin streaks of fat) melts as it heats, keeping your dish succulent. Flank steak benefits from shorter cooking times but requires careful attention to avoid toughness.
Seasoning, Resting, and Dry Brining Techniques
Salt your meat generously at least 45 minutes before cooking—this draws out moisture, which then reabsorbs with seasonings for deeper flavor. Patting it dry before applying spices creates a crisp exterior. Letting it sit uncovered in the fridge overnight enhances texture.
Always bring meat to room temperature for 20-30 minutes before placing it on heat. This simple step reduces shocking temperature gaps that cause uneven results. Dry brining not only seasons deeply but also tightens the surface for a perfect crust.
“Patience in prep pays off on the plate.”
By prioritizing quality cuts and proper seasoning, you lay the groundwork for a meal that’s both tender and memorable.
Mastering Your “grill steak well done time” Strategy
Perfecting your technique requires equal parts precision and adaptability. While heat management lays the foundation, timing transforms good results into exceptional ones. Let’s explore how to balance these elements for predictable outcomes every time.
Setting the Timer and Monitoring Doneness
Start by setting a countdown for each side of your cut. Flipping every two minutes creates uniform heat distribution, preventing uneven texture. This rhythm also builds a richer crust without charring delicate areas.
Use this reference table to align your process with desired results:
| Doneness Level | Target Temp | Pull Off Temp | Flip Frequency |
|---|---|---|---|
| Medium-Rare | 135°F | 130°F | Every 2 minutes |
| Medium | 145°F | 140°F | Every 2 minutes |
| Fully Cooked | 160°F | 155°F | Every 2 minutes |
Insert your thermometer at a 45-degree angle into the thickest section. Check multiple spots to confirm consistency. “Rushing leads to guesswork,” notes chef Amanda Freitag. “Discipline with your tools guarantees control.”
Remember: residual heat raises internal temps by 5°F after removal. Pair this strategy with sides like garlic butter shrimp for a balanced meal. Rest your protein for 8-10 minutes—this lets juices settle while you prepare accompaniments.
Setting Up Your Grill for Success
Your outdoor cooking experience hinges on one critical decision: how you arrange your equipment. A strategic setup prevents flare-ups, controls doneness, and unlocks richer flavors. Let’s explore how to transform your backyard appliance into a precision tool.

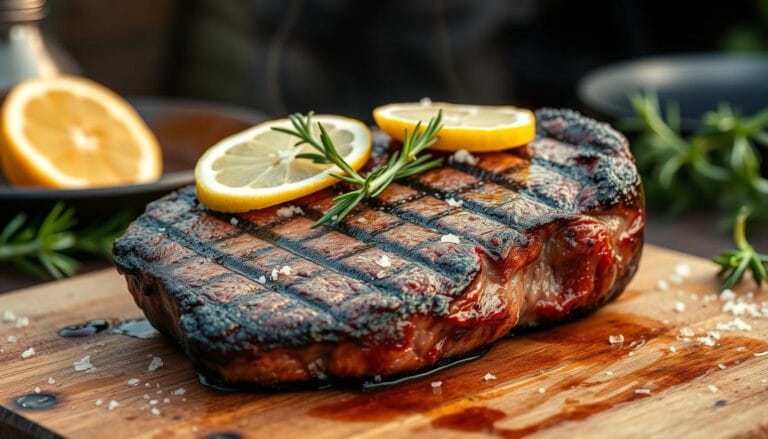
Creating Two-Zone Heat: Searing & Finishing Zones
Divide your cooking surface into high and medium areas. The hot zone (450-500°F) creates a caramelized crust quickly. The cooler side (300-350°F) gently brings meat to its final temperature without drying.
For charcoal setups, pile coals on one side. With gas, turn burners to high on half the grill. Steven Raichlen emphasizes this method: “Two zones let you manage flare-ups while maintaining control.” This approach reduces guesswork for thicker cuts.
Charcoal Versus Gas: Finding Your Ideal Setup
Each fuel type offers distinct advantages. Charcoal imparts smoky depth through wood chips or chunks. Gas provides instant, adjustable heat—ideal for weeknight meals.
| Feature | Charcoal | Gas |
|---|---|---|
| Flavor | Rich, smoky | Neutral |
| Heat-Up Time | 20-30 minutes | 10 minutes |
| Temperature Control | Manual | Precise |
Preheat charcoal grills until coals glow ash-gray. For gas models, close the lid and let it reach 500°F before adjusting. Wind or cold weather? Increase heat slightly—external factors impact performance.
Pro tip: Use a spray bottle to tame flare-ups without lowering temps. Pair your setup with a digital thermometer for real-time monitoring. Master these fundamentals, and every session becomes a chance to impress.
Searing, Flipping, and Basting Techniques
Elevating your culinary game requires mastering three core techniques that transform ordinary results into restaurant-worthy creations. These methods ensure even cooking while amplifying taste through strategic flavor layering.
Why Flip More Often?
Contrary to old-school beliefs, turning your cut every 60-90 seconds achieves better results. Frequent rotation:
- Prevents excessive charring on one side
- Distributes heat evenly across the surface
- Accelerates crust formation without drying
Chef Jamie Purviance explains:
“Think of flipping as heat management—it’s about balance, not superstition.”
For amedium doneness, alternate sides every 2 minutes. Start with 2 minutes per side on high heat, then reduce to medium zones.
Herb Butter Magic
Enhance moisture and depth by basting during the final 3 minutes. Melt butter with rosemary or thyme, then tilt your pan to spoon it over the meat repeatedly. This technique:
- Infuses aromatic flavors into the crust
- Creates a glossy, caramelized exterior
- Locks in natural juices effectively
Combine searing (2 minutes per side) with lower-heat finishing for ideal texture. Monitor internal temps closely—remove when 5°F below target. Let rest 8 minutes before slicing against the grain.
Utilizing a Meat Thermometer Correctly
Precision in cooking starts with mastering your tools. While experience helps, nothing replaces the reliability of a quality meat thermometer. This device removes guesswork, letting you achieve consistent results regardless of cut thickness or heat fluctuations.

Tips for Accurate Temperature Readings
Insert the probe into the thickest section of your protein, avoiding fat pockets or bones. For bone-in cuts, angle the device toward the center. Chef J. Kenji López-Alt confirms:
“Three seconds of patience gives you years of perfect meals.”
Follow this process:
- Check after searing – move meat to cooler zones if nearing target
- Wait 10 seconds for digital readings to stabilize
- Compare multiple spots for consistency
| Doneness Level | Final Temp | Pull Temp |
|---|---|---|
| Medium-Rare | 135°F | 130°F |
| Medium | 145°F | 140°F |
| Fully Cooked | 160°F | 155°F |
Suspect your device’s accuracy? Test it in ice water – it should read 32°F. Calibrate manually if needed. Multiple checks during cooking prevent overcooking, especially with thicker cuts.
- Benefit 1: Eliminates undercooked risks
- Benefit 2: Preserves natural moisture
- Benefit 3: Ensures repeatable success
Remember: Thermometers work best when clean and properly stored. Wipe probes immediately after use to prevent residue buildup. With these techniques, you’ll transform every meal into a masterpiece.
Exploring Steak Cuts and Optimal Cooking Times
Selecting the perfect cut is like choosing the right tool for a masterpiece—each has unique qualities that shape the outcome. Marbling, bone structure, and thickness directly influence how heat interacts with your protein. Let’s break down popular options to match your preferences with precision.
Ribeye, T-Bone, and Porterhouse: A Flavor Comparison
Ribeye boasts intense marbling, melting into rich juiciness during cooking. Aim for 4-5 minutes per side on high heat for medium-rare. Its fat content requires slightly longer resting (8 minutes) to redistribute flavors evenly.
T-Bone offers two textures in one: tenderloin and strip. The bone acts as a heat conductor, so add 1-2 minutes per side. Use a two-zone setup—sear over direct heat, then finish indirectly to prevent overcooking the leaner side.
Porterhouse, similar to T-Bone but with more tenderloin, benefits from reverse searing. Start on low heat until reaching 120°F internally, then blast with high heat for 90 seconds per side. This method ensures even doneness across both muscle types.
| Cut | Thickness | Minutes Per Side | Target Temp |
|---|---|---|---|
| Ribeye | 1.5″ | 4-5 | 135°F |
| T-Bone | 1″ | 3-4 | 130°F |
| Porterhouse | 1.25″ | 5-6 | 140°F |
Bone-in cuts require adjustments—their density slows heat penetration. Always measure temperature at the thickest point, avoiding contact with bone. Chef Michael Symon advises:
“Let the cut guide your technique, not the other way around.”
For consistent results:
- Pat surfaces dry before seasoning
- Adjust cooking zones based on marbling
- Use instant-read thermometers religiously
Understanding these differences turns selection into strategy. Pair your preferred texture with the right approach, and every bite becomes a celebration of flavor science.
Conclusion
Confidence at the grill comes from understanding the essentials. By following this guide, you’ve learned how quality cuts, precise temperature checks, and smart timing create unforgettable results. Each step—from seasoning to resting—builds toward juicy, flavorful meals that impress every guest.
Remember: Patience during preparation pays off. Letting your meat sit after cooking allows natural juices to settle, enhancing each bite. Trusted tools like instant-read thermometers remove guesswork, helping you achieve the perfect doneness level every time.
Keep this resource handy for your next cookout. Whether experimenting with new recipes or perfecting classics, these methods adapt to any cut or preference. Share your successes below—we’d love to hear how these tips elevated your outdoor cooking game!
FAQ
What internal temperature ensures a well-done result?
Does thicker meat require longer cooking?
How do I avoid drying out the protein?
Can I check doneness without a thermometer?
Why rest meat after removing it from heat?
Are gas or charcoal grills better for even cooking?
How does seasoning impact cooking time?
What cuts handle high heat best?
Should I flip the protein frequently?
For more cooking tips, stay connected with us. We also recommend the cookbook Skinnytaste Simple: Easy, Healthy Recipes with 7 Ingredients or Fewer
For more Recipes about Beef?
Did You try our recipe ?
There are no reviews yet. Be the first one to write one.