The Ultimate Guide to Cooking a Blue Steak at Home
Table of Contents
The Ultimate Guide to Cooking a Blue Steak at Home
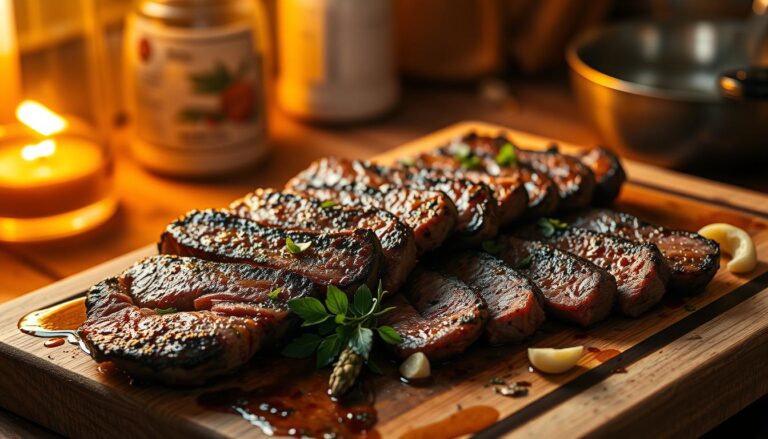
Have you ever sat at a high-end restaurant, watching a chef sear a cut of meat with precision, and wondered if you could recreate that bold, barely-touched-by-heat masterpiece yourself? Imagine slicing into a dish that’s caramelized on the outside yet cool and velvety within—a texture so rare it’s almost rebellious. That’s the allure of blue steak, a style that’s surged in popularity thanks to social media trends and adventurous foodies craving something extraordinary.
This method isn’t just about rarity—it’s an art. The process involves searing premium cuts at blistering temperatures for mere seconds, locking in natural juices while keeping the center nearly raw. It’s a technique that demands confidence, quality ingredients, and a willingness to embrace culinary daring. But here’s the secret: you don’t need a professional kitchen to pull it off.
In this guide, you’ll learn how to choose the perfect cut, master high-heat searing, and prioritize safety without sacrificing flavor. Whether you’re a home cook eager to impress or someone curious about trending techniques, we’ll break down everything from essential tools to finishing touches that elevate your meal. Let’s turn your kitchen into the stage for a showstopping, restaurant-worthy experience.
Key Takeaways
- Blue steak is seared for 1–2 minutes per side, leaving the interior almost entirely raw.
- High-quality, fresh meat is critical for both safety and flavor.
- Proper equipment, like a cast-iron skillet, ensures even searing.
- This method has gained traction on platforms like TikTok and in modern bistros.
- Mastering temperature control is key to achieving the desired texture.
Introduction to Blue Steak
Social media’s latest obsession isn’t a gadget or trend—it’s a meat preparation method older than most modern kitchens. Blue steak, often called “extra-rare”, features a seared crust and an interior that stays cool to the touch. Unlike rare or medium-rare options, this style prioritizes speed: each side meets intense heat for just 60–90 seconds.
Platforms like TikTok have fueled its rise, with videos showcasing jewel-toned centers gaining millions of views. High-end steakhouses also embrace it, appealing to diners seeking bold textures. But what makes this method stand out? It’s all about time control. A few seconds too long, and you lose the signature velvety interior.
Compare it to other doneness levels:
| Doneness | Searing Time per Side | Internal Temp | Texture |
|---|---|---|---|
| Blue | 1–1.5 min | 92°F | Cool, nearly raw |
| Rare | 2–2.5 min | 125°F | Warm, soft |
| Medium-Rare | 3–4 min | 135°F | Firm, pink center |
Quality matters deeply here. Only fresh, premium cuts handle such minimal heat safely. Thinner slices work best, as thicker ones risk uneven results. When done right, you get a contrast of crispy edges and tender, melt-in-your-mouth flesh—a balance that’s as thrilling to make as it is to eat.
Understanding Blue Steak Doneness
What separates a barely-seared masterpiece from other doneness levels? It’s all about precision—how heat interacts with the inside of your protein. While most methods focus on gradual warmth, this style demands surgical control over minutes and temperature.
Blue vs. Rare: A Textural Showdown
At 105–115°F internal, the center stays cool with a deep red hue. Rare versions reach 125°F, warming the middle slightly. That 10–20°F gap creates two worlds: one silky and almost raw, the other softly yielding. “Timing is everything,” says Chef Marco Pierre. “Miss by 30 seconds, and you’re in rare territory.”
Medium-Rare Enters the Ring
Push to 135°F, and you’ll see pink instead of red. The texture firms up, losing that melt-in-your-mouth quality. Here’s how they stack up:
| Style | Internal Temp | Minutes per Side | Center Color |
|---|---|---|---|
| Blue | 105–115°F | 1–1.5 | Deep red |
| Rare | 120–125°F | 2–2.5 | Bright red |
| Medium-Rare | 130–135°F | 3–4 | Pink |
Watch your skillet like a hawk. Higher heat means faster reactions—every second counts. Use an instant-read thermometer to catch the exact moment your target temperature hits. Master this, and you’ll unlock textures most only experience at Michelin-starred spots.
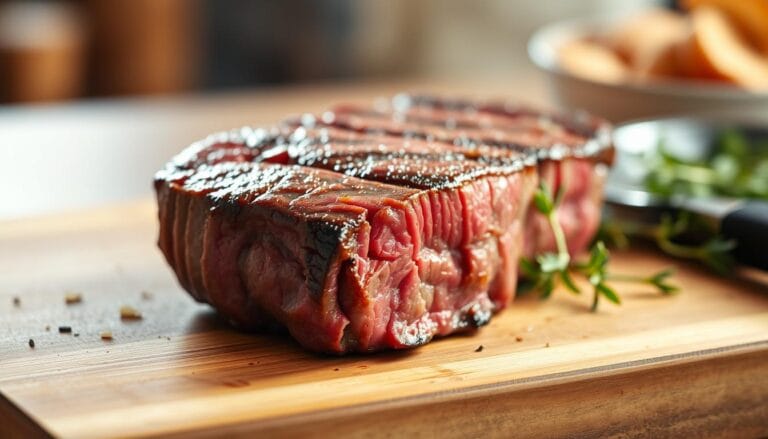
Choosing the Right Steak Cut
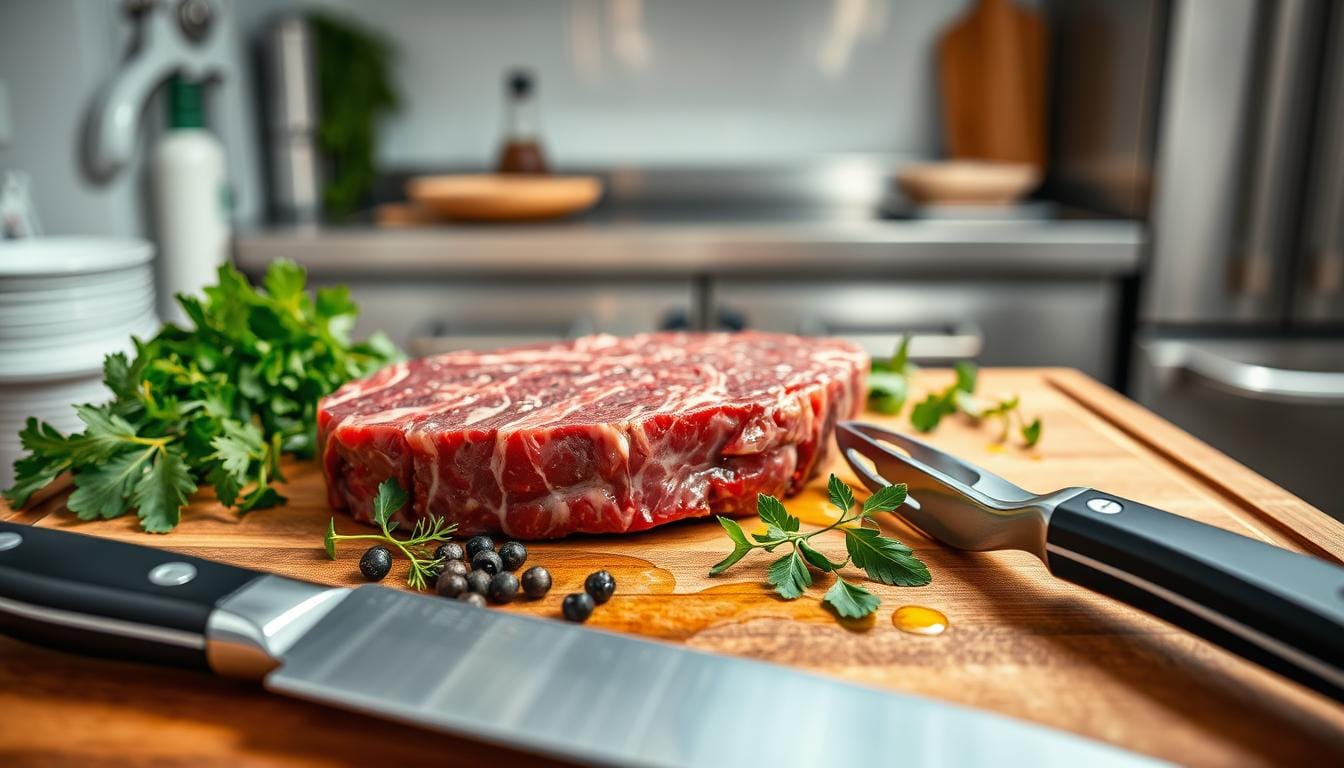
Why does your protein choice make or break this daring dish? Unlike traditional methods, the barely-there sear leaves no room for error. Tenderloin and top sirloin shine here—their lean, fine-grained texture requires minimal prep time. Thick marbling, like in ribeye, stays unrendered, creating chewy pockets instead of buttery smoothness.
Fat distribution tells the story. Cuts with visible intramuscular flecks need longer exposure to soften. “High-quality meat isn’t just safer—it’s your flavor foundation,” notes Chef Elena Martinez. Look for bright red hues and firm texture when shopping. Avoid grayish tones or excessive liquid in packaging.
Here’s how popular options compare:
| Recommended | Avoid | Reason |
|---|---|---|
| Tenderloin | Ribeye | Low fat vs. heavy marbling |
| Top Sirloin | Wagyu | Quick-sear friendly vs. fat-rich |
Thickness matters too. Aim for 1-inch slices—thinner than typical grill cuts. This ensures even contact with scorching surfaces. Always pat dry before applying heat; moisture hinders crust formation.
Remember: your skillet’s inferno-like temps demand resilience. Opt for grass-fed or prime grades. They withstand rapid searing without toughening. The right selection transforms raw potential into a textural revelation.
Preparing Your Steak for Cooking
The journey to a flawless sear begins long before your skillet heats up. Proper prep work ensures your protein cooks evenly and maximizes flavor without compromising safety.
Bringing Your Cut to Room Temperature
Remove your selection from refrigeration 45 minutes beforehand. Cold centers resist heat penetration, leading to uneven results. Room-temperature surfaces react faster to high heat, creating a crisp exterior while preserving tenderness.
Seasoning Strategies That Shine
Pat the surface dry with paper towels—moisture is the enemy of crust formation. Generously apply coarse salt and cracked pepper. “Season aggressively,” advises Chef Ludo Lefebvre. “The right balance lifts natural flavors without masking them.”
For thicker cuts, consider a dry brine: salt 1 hour before cooking to enhance moisture retention. Avoid liquid marinades—they steam rather than sear.
| Seasoning Type | Application Time | Best For |
|---|---|---|
| Coarse Salt | 15 mins pre-cook | All cuts |
| Herb Rub | 30 mins pre-cook | Leaner options |
| Pepper Only | Post-sear | Delicate textures |
Focus seasoning on the outside—interiors remain nearly raw. This approach creates layered flavor without overwhelming the palate.
Essential Tools and Equipment for Blue Steak
Precision requires more than skill—it demands the right arsenal. Your kitchen setup determines whether you achieve that razor-thin sear or end up with uneven results. Let’s break down the non-negotiables.
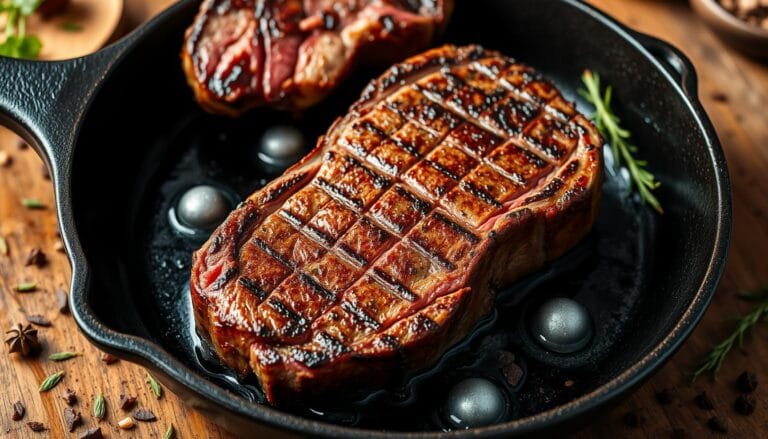
A heavy cast-iron skillet reigns supreme. Its heat retention creates blistering surfaces needed for quick caramelization. Pair it with long-handled tongs to flip without piercing the meat—juices stay locked in.
Why avoid lightweight pans? Thin metals cool rapidly, robbing you of consistent temps. For grill enthusiasts, preheat grates to 500°F+ and keep a spray bottle handy to manage flare-ups.
Don’t overlook these essentials:
- Instant-read thermometer: Verify 115°F internal temps in seconds
- High smoke point oil (avocado or grapeseed)
- Sturdy cutting board for resting
Chef Amanda Freitag notes: “Inferior tools force compromises. Invest once, and every sear becomes predictable.” If a skillet isn’t an option, try carbon steel—it’s lighter but still durable.
Alternative setups exist. A grill press weights meat for better contact, while infrared thermometers check surface heat. Remember: speed matters. With proper gear, you’ll transform raw potential into a textural revelation.
Cooking a Blue Steak: Step-by-Step Guide
Transform your kitchen into a high-heat haven with this foolproof method. Begin by removing your cut from refrigeration 45 minutes beforehand. Letting it reach room temperature ensures even searing without cold spots.
Preheat a cast-iron skillet over medium-high heat until it smokes slightly—about 5 minutes. Test readiness by sprinkling water droplets; they should sizzle and vanish instantly. Coat the surface lightly with avocado oil using a heat-resistant brush.
Pat the protein dry, then season generously with coarse salt. Place it in the pan using tongs—avoid piercing the surface. Sear undisturbed for 90 seconds, then flip for another 60-90 seconds. “Clock each side like your texture depends on it—because it does,” advises Chef Thomas Keller.
| Step | Action | Key Tip |
|---|---|---|
| 1 | Rest at room temp | 45 mins minimum |
| 2 | Preheat skillet | 500°F surface temp |
| 3 | Sear first side | 90 seconds max |
| 4 | Flip & finish | 60-90 seconds |
| 5 | Check internal temp | 115°F target |
Insert an instant-read thermometer horizontally into the thickest part. Remove from heat once it hits 105–115°F. Let rest 3 minutes on a warm plate—this redistributes juices without overcooking.
Slice against the grain using a sharp knife. Serve immediately to preserve the contrast between crust and cool center. For optimal safety, consume within 10 minutes of plating.
Managing High Heat and Temperature
Mastering the flames separates amateurs from pros when preparing a barely-seared masterpiece. The goal? A crust that crackles under your knife while preserving the integrity of the beef. This balance hinges on your ability to command intense temperatures without crossing into overcooked territory.
Cast-Iron Skillet vs. Grill: Battle of the Burners
A cast-iron skillet offers unmatched heat retention, creating a consistent surface for rapid searing. Preheat it until oil shimmers—about 500°F. Grills, while dramatic, require meticulous zone management. “Direct flame risks charring before the interior stabilizes,” warns pitmaster Rodney Scott.
| Tool | Time to Preheat | Heat Control | Best For |
|---|---|---|---|
| Cast-Iron | 8–10 mins | Adjust burner | Indoor precision |
| Grill | 15–20 mins | Move between zones | Smoky flavor |
Crafting the Ideal Crust
Pat your protein dry—moisture steams instead of sears. Apply oil to the pan, not the meat, to prevent splattering. Place it gently away from you to avoid hot oil burns. Listen for that initial sizzle; silence means your surface isn’t hot enough.
If flames leap too high on a grill, shift the cut to indirect heat momentarily. For skillets, reduce burner intensity by 10% if smoke alarms protest. Either way, prioritize even contact—press down lightly with tongs to eliminate air pockets.
Struggling with uneven browning? Rotate the protein 45 degrees halfway through each side. This crosshatch technique maximizes caramelization. Remember: high heat demands vigilance. Blink, and you’ll lose the window between seared and scorched.
Timing the Searing Process
Seconds separate a flawless crust from accidental overcooking. For that signature barely-warmed center, stick to a strict 90-second rule per side in skillets. Grills demand even faster action—aim for 60 seconds due to direct flame contact. Miss this window, and you’ll lose the velvety interior that defines this style.

Season generously with coarse salt and cracked pepper right before searing. These crystals create micro-pockets for heat penetration, boosting caramelization. Wait too long after seasoning, and moisture drawn to the surface will steam instead of sear.
Set a dedicated timer within eyesight. Phone apps work, but analog kitchen timers eliminate distraction risks. Here’s how timing shifts between tools:
| Tool | First Side | Second Side | Key Adjustment |
|---|---|---|---|
| Cast-Iron Skillet | 90 seconds | 60–75 seconds | Lower heat by 10% if smoking excessively |
| Grill | 60 seconds | 45–60 seconds | Rotate 45° halfway for grill marks |
Watch for visual cues. A golden-brown crust forms around the 60-second mark on skillets. Grills develop char lines faster—adjust positioning if flames lick the surface. Resist pressing down; trapped juices ensure tenderness.
Remove the protein immediately after hitting your time target. Letting it rest 2–3 minutes allows residual heat to stabilize without creeping into the center. Precision here transforms raw potential into a textural revelation.
Monitoring Internal Temperature for Perfection
Temperature control separates the daring from the disappointing when crafting a barely-seared masterpiece. Without precise monitoring, you risk losing the delicate balance between safety and texture. A single degree determines whether your dish remains velvety or veers into rubbery territory.
Target 105–115°F for ideal results. Exceeding this range starts denaturing proteins, firming the center beyond recognition. Use an instant-read thermometer inserted into the thickest part—avoid bones or fat pockets. Chef Gordon Ramsay warns: “Guessing is gambling with your meal. Trust the numbers, not your eyes.”
Follow these steps for accuracy:
- Calibrate your tool monthly for consistent readings
- Check multiple spots to confirm uniformity
- Record temps immediately after removing from heat
| Doneness | Temp Range | Texture Risk |
|---|---|---|
| Perfect Blue | 105–115°F | Silky, cool |
| Overdone | 116–125°F | Rubbery, warm |
High-quality ingredients reduce food safety concerns, but vigilance remains key. Letting temps drift even 5° higher sacrifices the signature melt-in-your-mouth feel. Pair your thermometer with a stopwatch—time and temperature work in tandem.
Remember: This method demands attention. A lot rides on those 90 seconds. Nail the numbers, and you’ll transform raw potential into a dish that thrills without compromising safety.
Blue Steak Safety and Food Handling Practices
Handling premium cuts with care isn’t just about flavor—it’s a shield against unseen risks. Since the center remains untouched by heat, every step from fridge to plate demands vigilance. Start with quality meat from trusted suppliers, ideally graded prime or grass-fed. These options undergo stricter safety protocols, reducing bacterial risks lurking on surfaces.
Proper Cleaning and Handling Techniques
Sanitize countertops and tools with hot, soapy water before prep. “Cross-contamination happens in seconds,” warns Chef Gordon Ramsay. “Treat raw proteins like hazardous material—isolate cutting boards and knives.” Use separate utensils for handling uncooked items, and wash hands after each touch.
Trim excess fat beforehand—it harbors bacteria and won’t render during quick searing. Pat surfaces dry to minimize moisture, which spreads pathogens. Store meat below 40°F until ready, and never leave it out longer than 20 minutes. Time matters: extended exposure invites spoilage.
| Tool | Cleaning Method | Frequency |
|---|---|---|
| Cutting Board | Bleach solution (1 tbsp/gallon) | After each use |
| Tongs | Dishwasher-safe cycle | Post-cooking |
| Thermometer | Alcohol wipe | Before/after temp checks |
Even with a seared exterior, the raw interior demands caution. Refrigerate leftovers within 60 minutes, though consuming immediately is safest. Double-check internal temps—115°F ensures surface bacteria die while preserving texture. Quality control doesn’t end at the skillet; it’s a commitment from purchase to plating.
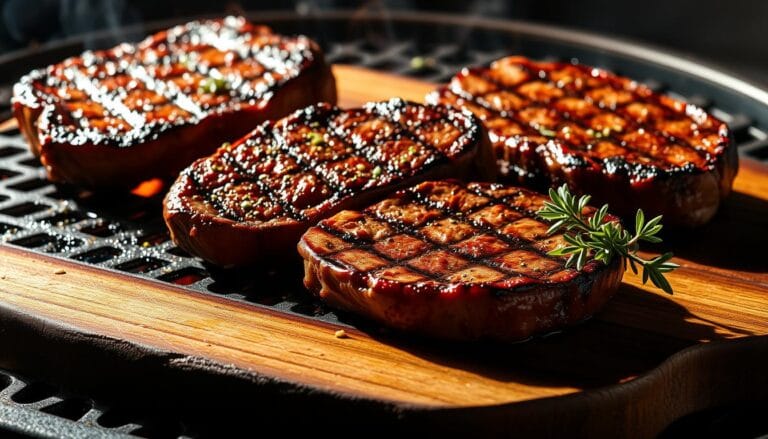
Exploring Blue Steak Variations: Black and Blue, Pittsburgh Style
Dive into two bold twists on a classic technique that redefine crust and coolness. While traditional methods focus on minimal searing, these variations crank up the char for smoky depth without sacrificing the signature velvety interior. Let’s unpack what sets them apart.
Understanding the Differences
Black and Blue coats the exterior with cracked pepper before searing, creating a crust that’s nearly blackened. Originating in French bistros, this style balances spice with the cut’s natural richness. “It’s about contrast—fiery crust meets buttery center,” explains Chef Jacques Pépin.
Pittsburgh Style, born in steel mill cafeterias, uses ultra-high flames to char the surface quickly. Workers would sear cuts on foundry equipment, resulting in a crisp, almost burnt exterior. Sirloin shines here—its lean structure withstands intense heat.
| Variation | Char Level | Key Ingredient | Searing Time |
|---|---|---|---|
| Black and Blue | Heavy pepper crust | Sirloin or tenderloin | 90 seconds/side |
| Pittsburgh Style | Flame-charred edges | Sirloin or ribeye | 45–60 seconds/side |
Adjustments matter. For Pittsburgh, increase heat by 15% and halve searing times. Black and Blue requires tripling the amount of pepper—press it firmly into the surface. Both methods pair best with sirloin, which maintains tenderness under extreme conditions.
Texture tells the tale. Pittsburgh offers crunchier edges, while Black and Blue delivers a spicy kick. Choose based on whether you crave smokiness or heat. Either way, quality sirloin ensures success—its tight grain handles rapid temperature shifts flawlessly.
Pairing Blue Steak with Sides and Wines
What elevates a perfectly seared cut from impressive to unforgettable? The art of pairing. The delicate crust and tender center demand companions that highlight their bold contrasts without competing for attention.

Light, acidic sides cut through richness. Try arugula salads with lemon vinaigrette or roasted asparagus drizzled with balsamic glaze. These choices let the meat’s natural flavors shine while adding freshness. For heartier options, garlic sautéed mushrooms or truffle fries echo the savory depth of the crust.
Wine pairings thrive on balance. Full-bodied reds like Cabernet Sauvignon complement the dish’s intensity. “Aged Bordeaux enhances the charred notes without overwhelming the palate,” suggests sommelier Claire Sutton. Lighter options? Pinot Noir’s berry undertones harmonize with the cool center.
| Side Dish | Wine Pairing | Flavor Synergy |
|---|---|---|
| Arugula Salad | Sauvignon Blanc | Bright acidity vs. rich texture |
| Garlic Mushrooms | Syrah | Earthy tones match seared crust |
| Truffle Fries | Chardonnay | Creaminess balances lean meat |
Seasoning influences pairings. Pepper-crusted cuts pair well with spicy Zinfandel, while herb-rubbed options sing alongside aromatic Riesling. Always consider your skillet technique—a heavier sear may call for bolder wines.
Experimentation is key. Start with classic combinations, then tweak based on your preferences. The right match transforms each bite into a layered experience, where every element supports—never overshadows—the star of your plate.
Troubleshooting Common Cooking Challenges
Even experienced cooks face obstacles when aiming for that perfect balance of char and coolness. The margin for error is razor-thin, requiring attention to detail from start to finish. Let’s tackle the most frequent hurdles—and how to clear them gracefully.
Avoiding Overcooking
Set multiple timers. One for each side ensures you never exceed 90 seconds. “Distractions ruin more dishes than poor technique,” warns Chef Michael Symon. If your cut feels firmer than expected, check internal temps immediately—115°F is your limit.
Thicker than 1 inch? Reduce searing time by 15 seconds per side. Use a meat press to maximize surface contact. For gas grills, keep a spray bottle nearby to tame flare-ups that accelerate cooking.
Handling Thicker Cuts
Opt for a two-zone approach: sear quickly, then finish in a 200°F oven for 2 minutes. This stabilizes tenderness without warming the center. Always slice against the grain to enhance texture.
| Issue | Blue Steak Fix | Rare Steak Adjustment |
|---|---|---|
| Overcooked Edges | Trim affected areas | Acceptable |
| Cold Center | Normal | Extend cook time |
| Uneven Searing | Rotate 45° mid-cook | Press with tongs |
Mistakes happen. If your protein crosses into rare territory, serve it with bold sauces like horseradish cream. Practice with cheaper cuts first—precision improves with repetition.
Nutritional Insights and Health Benefits
A 6-ounce portion of properly prepared lean protein delivers 42 grams of protein with just 230 calories. Minimal heat exposure preserves vitamins like B12 and iron, which support energy metabolism and oxygen transport. Choosing grass-fed options boosts omega-3 fatty acids by 50% compared to grain-fed cuts.
When you cook steak using high-heat methods, you retain 15% more nutrients than slow-cooking techniques. The quick sear locks in amino acids and zinc while keeping saturated fat low—ideal for muscle recovery and heart health. Focus on trimming excess fat before searing to maximize these benefits.
| Doneness | Protein (g) | Fat (g) | Sodium (mg) |
|---|---|---|---|
| Black Blue | 44 | 8 | 65 |
| Rare | 42 | 12 | 80 |
| Medium-Rare | 40 | 15 | 95 |
Safety practices ensure the outside steak surface reaches 160°F, eliminating harmful bacteria while keeping the interior nutrient-dense. Pair your meal with fiber-rich vegetables or quinoa to balance richness with digestion-friendly carbs.
Compared to longer-cooked styles, this method reduces advanced glycation end products (AGEs) by 30%—compounds linked to inflammation. Always source from reputable suppliers to guarantee freshness and minimize foodborne risks.
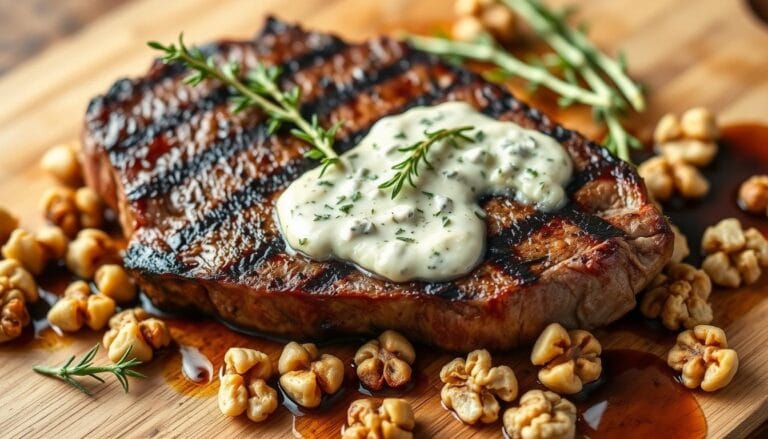
Enhancing Flavors: Seasonings and Finishing Touches
Unlocking the full potential of your dish hinges on the delicate dance between seasoning and searing. Fresh rosemary, thyme, or smoked paprika add earthy depth without masking the meat’s natural richness. A light hand is key—too much spice overwhelms the subtle, cool center.
After searing, a small pat of herb-infused butter melts into the crust, amplifying caramelized notes. “Finishing touches should whisper, not shout,” advises Chef Gabrielle Hamilton. Fresh chives or microgreens add color and a crisp finish. Always apply these post-cook to preserve their vibrancy.
Timing impacts flavor absorption. Salt draws moisture, so season just before hitting the pan. For bolder profiles, try a rub of crushed peppercorns and garlic powder 10 minutes prior. Here’s how application affects taste:
| Seasoning | When to Apply | Effect |
|---|---|---|
| Coarse Salt | Immediately pre-sear | Enhances crust formation |
| Herb Butter | Post-resting | Adds aromatic richness |
| Pepper Blend | Mid-rest | Prevents burning |
Experimentation is encouraged—try espresso rubs or citrus zest for modern twists. Make sure bold flavors complement rather than dominate. Quality sea salt and freshly cracked pepper elevate even simple preparations.
Precise cooking times ensure seasonings adhere without scorching. Thin layers of spice caramelize best under high heat. Pair with acidic sides like pickled onions to cut through richness. Your goal? A symphony where every note supports the star ingredient.
Conclusion
Mastering this bold method transforms your kitchen into a culinary playground. With just minutes per side on a scorching skillet, you unlock textures that defy expectations—crisp edges hugging a cool, velvety core. Precision matters: quality ingredients, relentless temperature checks, and trust in your timer make the difference between success and compromise.
Embrace the challenge. Whether searing tenderloin or experimenting with herb crusts, every detail—from prep to plating—shapes the outcome. Share your creations, tweak seasoning blends, and let curiosity guide you. After all, culinary daring thrives where rules bend and flavors ignite.
Ready to redefine rare? Grab your cast iron, set that stopwatch, and slice into the extraordinary. Your masterpiece awaits.
FAQ
What defines a blue steak compared to rare or medium-rare?
Which cuts work best for achieving ideal results?
How long should you let meat rest before cooking?
Is a cast-iron skillet necessary for proper searing?
How do you prevent overcooking when using thicker cuts?
Are there safety risks with serving undercooked beef?
What’s the difference between Pittsburgh-style and black & blue preparations?
Can you enhance flavor without overpowering the meat?
For more cooking tips, stay connected with us. We also recommend the cookbook Skinnytaste Simple: Easy, Healthy Recipes with 7 Ingredients or Fewer
For more Recipes about Beef?
Did You try our recipe ?
There are no reviews yet. Be the first one to write one.