How to Cook a Steak on the Stove Like a Pro – Quick & Easy Guide
Table of Contents
How to Cook a Steak on the Stove Like a Pro – Quick & Easy Guide
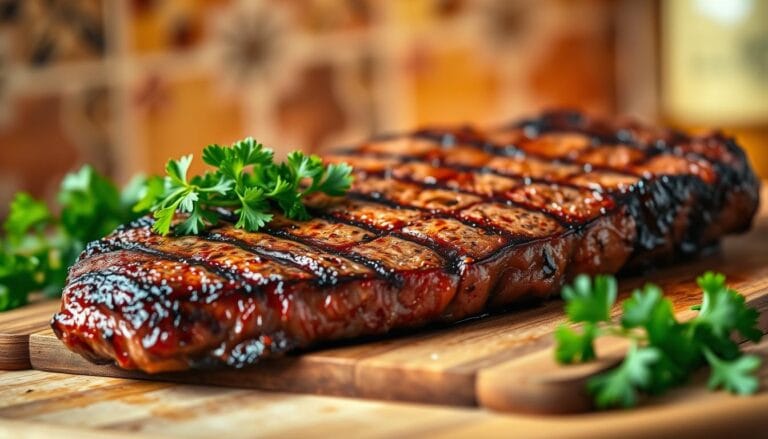
There’s something special about a perfectly cooked steak. The sizzle, the aroma, and the flavor all combine to create a culinary experience that’s hard to beat. Cooking steak on the stovetop allows you to achieve that restaurant-quality dinner in the comfort of your own home, without needing a grill or expensive equipment.
Mastering this skill not only impresses your family and friends but also opens up a world of culinary possibilities. Whether you’re a beginner or looking to refine your technique, this guide will walk you through the process, from selecting the right cut to serving a beautifully cooked steak.
Key Takeaways
- Learn the basics of selecting the perfect steak for stovetop cooking.
- Understand the importance of proper preparation and seasoning.
- Discover the technique for achieving a perfectly cooked steak.
- Find out how to serve your steak for maximum flavor and enjoyment.
- Get tips on how to refine your technique for consistent results.
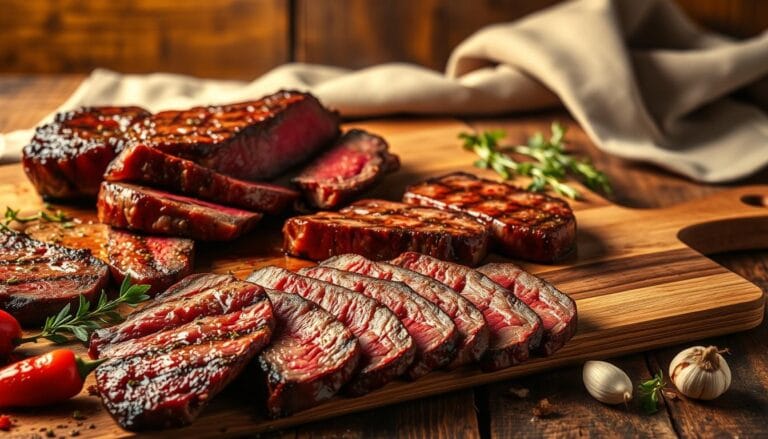
Understanding Different Cuts of Steak
To cook a great steak, you first need to understand the different cuts available and their characteristics. The cut of steak you choose can significantly impact the flavor, tenderness, and overall cooking experience.
Steak cuts vary in terms of marbling, tenderness, and flavor profile. Popular cuts include ribeye, known for its rich flavor and tender texture due to its marbling; strip steak, which offers a balanced flavor and texture, making it ideal for cooking on the stove; filet mignon, tender with a mild flavor; sirloin, a leaner cut but packed with flavor; and flat iron, an affordable option with good marbling.
Popular Steak Cuts You Should Know
Ribeye: This cut is known for its marbling, which makes it tender and flavorful. It’s a great choice if you’re looking for a rich steak experience.
Strip Steak: With its balanced fat content, strip steak is perfect for stovetop cooking. It offers a good balance between flavor and tenderness, making it a favorite among steak enthusiasts.
When it comes to cooking strip steak on the stove, its balanced marbling ensures it stays juicy and flavorful. Proper technique is key to achieving the perfect doneness.
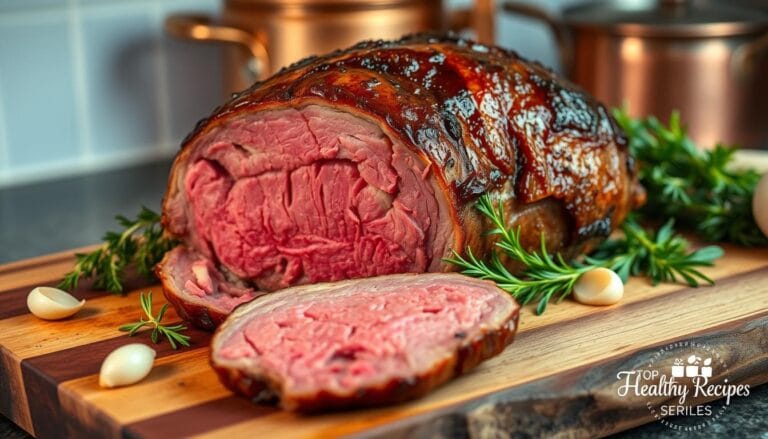
Choosing the Right Steak for Your Meal
Selecting the right steak involves considering several factors, including your preference for flavor, tenderness, cooking time, and budget. If you prefer a tender steak with less chew, filet mignon might be your best bet. For those who enjoy a bit of chew and rich flavor, ribeye is an excellent choice.
Understanding these differences helps you make an informed decision at the butcher counter, setting you up for success before you even start cooking. Whether you’re a seasoned chef or a beginner, knowing your steak cuts is the first step to a perfect meal.
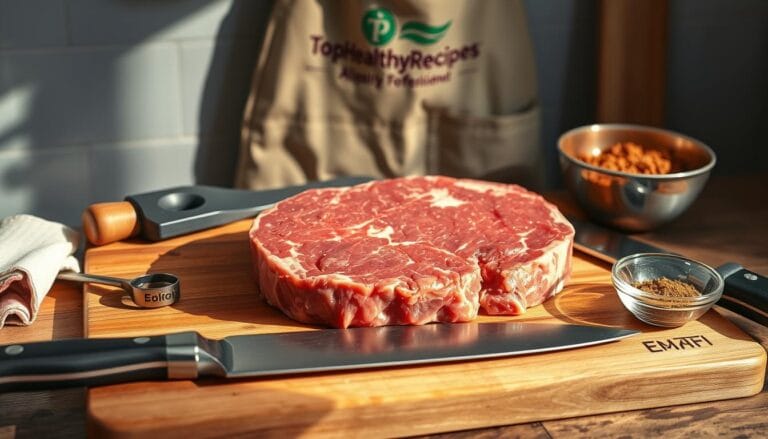
Preparing Your Steak for Cooking
To cook a steak like a pro, start with the right preparation. This ensures even cooking and flavor. Proper preparation is key for a perfectly cooked steak on your stovetop.
Bringing your steak to room temperature is a critical step. Letting it sit for 30-45 minutes before cooking helps it cook evenly. This step is essential for achieving your desired doneness without overcooking the exterior.
Importance of Bringing Steak to Room Temperature
The science behind bringing steak to room temperature is important. When a steak is cooked straight from the refrigerator, the cold center can lead to uneven cooking. By allowing it to warm up, you ensure that the steak cooks consistently throughout. This simple step can significantly improve the quality of your cooked steak.
| Steak Temperature | Cooking Time | Result |
|---|---|---|
| Cold | Longer | Overcooked Exterior |
| Room Temperature | Optimal | Evenly Cooked |
How to Season Your Steak Properly
Seasoning your steak is an art that enhances its natural flavors. Start by applying salt ideally 40 minutes before cooking, or right before it hits the pan. Use freshly ground black pepper to add depth to your steak. You can also add additional seasonings like garlic powder or herbs for a unique flavor.
Tips for Seasoning:
- Use salt and pepper as your primary seasonings.
- Add herbs and garlic powder according to your taste preferences.
- Avoid over-seasoning, as it can overwhelm the natural flavor of the steak.
By following these preparation steps, you’ll be well on your way to cooking a restaurant-quality steak on your stove. Proper preparation, including bringing your steak to room temperature and seasoning it correctly, is key to a delicious and satisfying meal.
Tools You Need for Cooking Steak
Cooking a perfect steak on the stovetop needs more than a good recipe. You also need the right cookware and utensils. Having the right tools is key to getting professional results.
Essential Cookware for the Perfect Steak
The cookware you choose can greatly affect your steak’s quality. A cast iron skillet is often the best cast iron skillet steak choice. It keeps heat well and cooks the steak evenly.
Other good options are stainless steel and carbon steel pans. Here’s a comparison of these cookware types:
| Cookware Type | Heat Retention | Durability | Maintenance |
|---|---|---|---|
| Cast Iron | Excellent | High | High |
| Stainless Steel | Good | High | Low |
| Carbon Steel | Good | Medium | Medium |
Culinary experts say the right cookware can make a big difference. A cast iron skillet, for example, is praised for its versatility and performance.
“A good cast iron skillet is like an old friend; it only gets better with time and use.”
Recommended Utensils for Steak Preparation
Along with the right cookware, you also need the right utensils. Tongs are great for flipping steaks without piercing them. An instant-read thermometer ensures your steak is cooked just right. A timer helps keep track of cooking times, and a sharp knife is needed for testing and serving.
- Tongs for safe flipping
- Instant-read thermometer for precise doneness
- Timer for tracking cooking times
- Sharp knife for testing and serving
- Splatter guard for a cleaner kitchen
- Meat weight for even contact with the pan
With these tools, you’ll be well on your way to cooking steaks like a pro.
Choosing the Right Cooking Oil
The type of oil you choose is key for pan-frying a steak. The right oil can make your steak taste better and feel more tender. The wrong oil can ruin your steak.
For a pan fried steak, pick an oil with a high smoke point. High-heat cooking can burn oils with low smoke points. This can ruin the taste and quality of your steak.
Best Oils for High-Temperature Cooking
Avocado oil and refined grapeseed oil are great for high heat. Avocado oil has a smoke point of about 520°F. Refined grapeseed oil has a smoke point of about 420°F. Clarified butter or ghee is also good, with a smoke point of about 450°F.
Chef Thomas Keller says, “The right oil can make all the difference in the world when it comes to cooking a steak.”
“You want an oil that can handle high heat without breaking down or smoking.”
When to Use Butter vs. Oil
Oil is best for the initial high-heat sear. Butter can be added later to add flavor. Regular butter isn’t good for high heat because its milk solids can burn at 350°F. But, adding butter towards the end can make your pan fried steak taste richer and more aromatic.
To get the best results, start with oil for the sear. Then add butter towards the end. This way, you get the benefits of oil’s high smoke point and butter’s flavor.
- Use a thermometer to check the temperature of your oil.
- Choose an oil that complements the flavor of your steak.
- Don’t be afraid to experiment with different oil and butter combinations.
Preheating Your Pan Effectively
The secret to a top-notch steak is in preheating your pan right. When you’re learning how to cook a steak on the stove, don’t skip this step. It’s what makes your steak cook evenly and get that tasty crust.
Why Preheating is Crucial
Preheating your pan makes sure it’s hot all over. This is key for cooking your steak right. A hot pan sears the steak fast, keeping juices and flavors inside. This is super important for cast iron or stainless steel pans, as they keep heat well.
To get the best sear, don’t just crank up the heat. Start with a low heat and slowly increase it. This keeps the pan from warping and makes sure the heat spreads evenly.
Tips for Checking Pan Temperature
So, how do you know your pan is hot enough? Try the water droplet test. If water droplets bead up and move on the pan, it’s ready. Another sign is when oil in the pan starts to shimmer or smoke.
If you want to be exact, use an infrared thermometer. But for most, watching the oil or using the water droplet test works great.
For more stove cooking tips, check out our guide on cooking shrimp on steak. It also talks about the importance of preheating your pan.
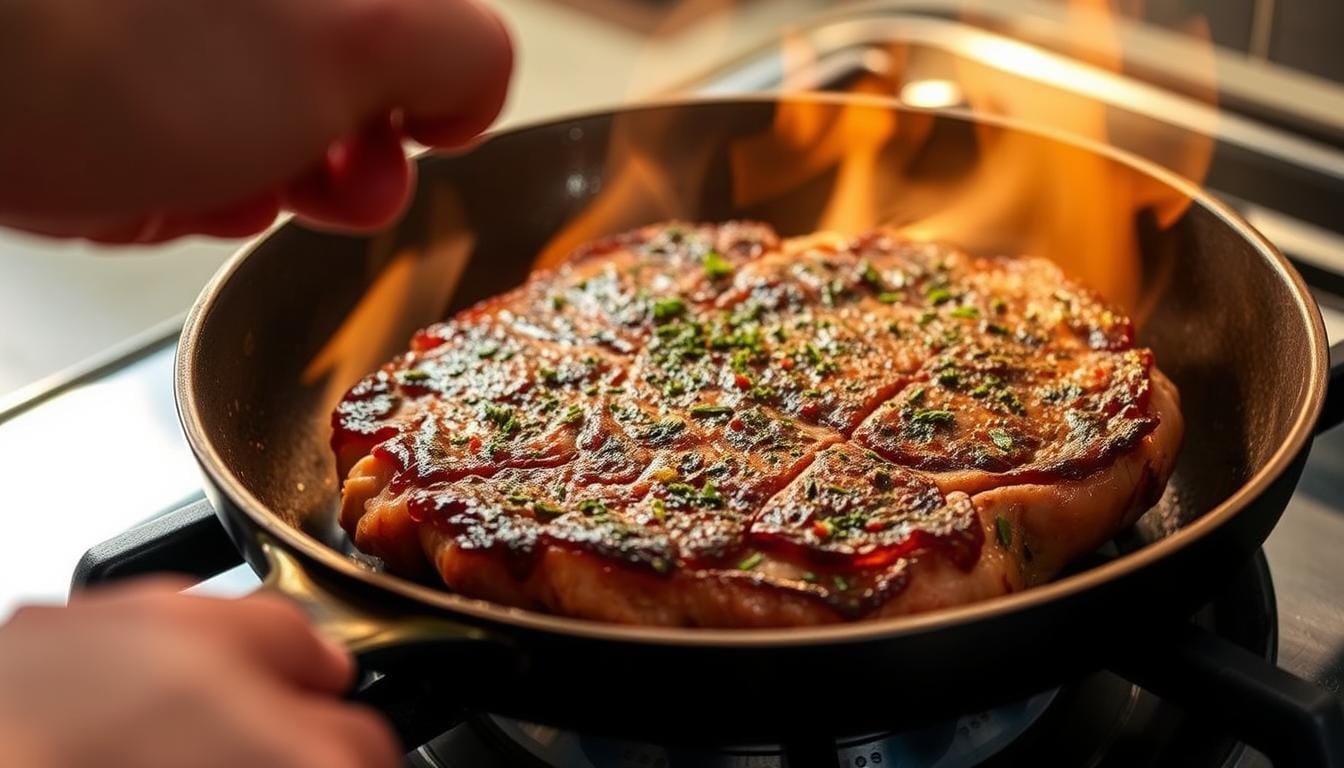
Searing Your Steak to Lock in Flavor
A well-seared steak is more than just looks; it’s about flavor and texture. Learning to sear your steak right is key to a tasty pan-seared steak with a great crust.

Proper Searing Techniques
To get a perfect sear, start with a dry steak. Wipe your steak dry with a paper towel before cooking. This helps avoid a soggy sear.
When putting the steak in the pan, do it away from you to avoid splatters. The Maillard reaction, happening when proteins and sugars meet high heat, creates lots of flavors. This is what makes a seared steak taste so good.
Press down gently on the steak to make sure it touches the pan. Don’t move it too soon. “The secret to a great sear is patience,” chefs often say.
“A good sear is like a good handshake – firm, confident, and it sets the tone for what’s to come.”
How Long Should You Sear Each Side?
The searing time depends on your steak’s thickness. For a 1-inch steak, sear for 2-3 minutes on each side. Thicker steaks might need 3-4 minutes per side. Remember to sear the edges and fat cap too.
By following these pan-searing basics, you can make steaks as good as those in restaurants. Keep trying, and you’ll get better at searing steaks like a pro.
Cooking Times for Different Steak Doneness
Cooking steak on the stove needs precision, mainly for the right doneness. Whether it’s a strip steak or another cut, knowing the cooking times is key.
Rare, Medium, and Well-Done Explained
Steak doneness levels include rare, medium-rare, medium, medium-well, and well-done. Each has a specific internal temperature range.
- Rare: 120-125°F (internal temperature)
- Medium-Rare: 130-135°F
- Medium: 140-145°F
- Medium-Well: 150-155°F
- Well-Done: 160°F and above
A meat thermometer is the best way to check steak doneness. It makes sure your steak is cooked safely.
Use of a Meat Thermometer for Accuracy
To use a meat thermometer right, put it in the thickest part of the steak. Make sure it’s not near any bone or fat. This gives the most accurate reading.
If you don’t have a thermometer, the finger test is a good backup. It compares the steak’s firmness to your palm.
Remember carryover cooking, where the steak cooks more after being off the heat. To adjust for this, take your steak off the pan 5-10°F before it hits your target temperature.
By sticking to these tips, you can get your steak just right when cooking it on your stovetop.
Basting Your Steak for Extra Flavor
To elevate your pan-fried steak, learning to baste is key. Basting coats the steak with tasty fats and aromatics. It turns a simple dish into a gourmet delight.
Basting means tilting the pan to pool butter and juices. Then, use a spoon to pour this liquid over the steak. Start this after flipping the steak and adding butter, for about 1-2 minutes.
How to Baste with Pan Juices
To baste well, tilt the pan and spoon juices over the steak. This method ensures even coating with flavorful pan juices. Chef Gordon Ramsay says, “Basting keeps the steak moist and flavorful.”
“The secret to a great steak is in the basting. It’s all about the flavor you add during the cooking process.”
Adding Herbs and Garlic for Aromatic Taste
Adding aromatics like garlic, thyme, rosemary, or shallot to your basting liquid boosts flavor. Heat releases their essential oils, adding complex tastes to your steak.
- Add crushed garlic cloves for a deep, rich flavor.
- Use fresh thyme or rosemary sprigs for a herbaceous note.
- Incorporate a quartered shallot for a sweet, oniony flavor.
Mastering basting adds a pro touch to your pan-fried steaks. It greatly improves their taste.
Resting Your Steak After Cooking
Letting your steak rest after cooking is key to its flavor and tenderness. This step lets the muscle fibers relax. They then reabsorb juices that would spill out when cut.
The Science Behind Resting
Cooking a steak makes the proteins contract, pushing juices to the surface. Resting allows these juices to spread out. This makes the steak tender and flavorful.
Resting Times Based on Steak Thickness
Resting time depends on steak thickness. Thinner steaks need 5 minutes, while thicker ones need 10 to 15 minutes.
| Steak Thickness | Recommended Resting Time |
|---|---|
| Less than 1 inch | 5 minutes |
| 1 to 1.5 inches | 7-10 minutes |
| More than 1.5 inches | 10-15 minutes |
Tips for Resting Your Steak
To keep your steak warm, tent it with foil loosely. Avoid wrapping it too tight to prevent steaming and losing the crust.
Signs That Your Steak Has Rested Properly
Your steak is ready when steam reduces and it feels firmer. These signs mean the juices have spread out, and it’s time to serve.

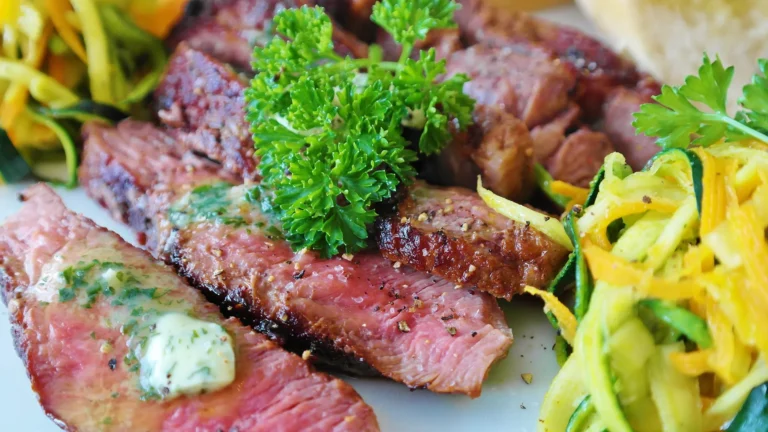
Serving Your Steak: Presentation Tips
Mastering the perfect best cast iron skillet steak is just the start. Now, focus on presenting it like a pro. Presentation is key to a great dining experience.
Let’s talk about slicing your steak right. Slicing it correctly makes it look better and feel softer. Always cut against the grain. This breaks the fibers, making each bite better.
Slicing Techniques for Perfect Bite-Sized Pieces
To slice like a pro, use a sharp knife. A sharp knife cuts clean, keeping the meat’s texture. Aim for slices that are ¼ to ½ inch thick. Cut at an angle for attractive slices.
Here are some tips for slicing your steak:
- Cut against the grain to maximize tenderness.
- Use a sharp knife to prevent tearing the meat.
- Maintain a consistent slice thickness for even cooking appearance.
Creating a Stunning Plate with Sides
After slicing, focus on making your plate look good. Warm your plate to keep the steak’s temperature. Place the steak in the center.
Arrange your sides and garnishes for a nice look. Show off the steak’s crust by placing slices to highlight it. Add touches like sea salt, olive oil, or compound butter to make it pop.
Pairing Sides and Sauces with Steak
Pairing sides and sauces with your steak can make your meal unforgettable. A well-cooked steak needs the right sides to bring out its flavors. This makes the meal even better.
There are many sides that go great with steak. You can choose creamy mashed potatoes, roasted veggies, or crisp salads. For something different, try blue cheese potatoes or mushroom risotto.
Best Sides to Complement Your Steak
It’s important to balance your plate with different flavors and textures. Here are some sides that pair well with steak:
- Roasted asparagus with parmesan cheese
- Sautéed spinach with garlic
- Grilled bell peppers
- Creamy polenta
For a detailed recipe, check out how to make a delicious Hibachi steak. It comes with a variety of sides.
Popular Sauce Options to Serve
Sauces can add a lot of flavor to your steak. You can choose from peppercorn sauce, béarnaise, or chimichurri. Simple options like red wine reduction or herb butter also work well.
| Steak Doneness | Recommended Sauce |
|---|---|
| Rare | Peppercorn or Béarnaise |
| Medium | Chimichurri or Red Wine Reduction |
| Well-Done | Herb Butter or Mushroom Gravy |
According to a chef, “The right sauce can make or break the dish. It’s all about complementing the natural flavors of the steak.” – Chef John Doe
“A good steak is like a good friend – it’s even better with a good companion, like a rich demiglace or a tangy herb sauce.”
By carefully choosing sides and sauces for your steak, you can make a meal that’s truly memorable.
Storing Leftover Steak Properly
Learning to cook strip steak on the stove is just the start. Knowing how to store leftover steak is also key. This ensures your steak stays delicious. Here are a few important steps to keep your steak fresh and safe.
Cooling and Wrapping Techniques
First, cool the steak to room temperature within two hours. This stops bacteria from growing. Use airtight containers or wrap it tightly in heavy-duty foil to keep air out. This prevents the steak from drying out.
Refrigeration Tips
- Put the wrapped steak in the fridge, away from raw meats and strong smells. This prevents contamination and keeps the steak smelling good.
- Eat the leftover steak within 3-4 days for the best taste and texture.
Freezing for Longer Storage
If you won’t eat the steak in a few days, freeze it. Wrap it in plastic wrap or foil, then in a freezer-safe bag or container. Mark the bag with the date and what’s inside. Frozen steak can last up to 2-3 months.
| Storage Method | Duration | Tips |
|---|---|---|
| Refrigeration | 3-4 days | Keep away from raw meats and strong-smelling foods. |
| Freezing | 2-3 months | Use airtight containers or freezer-safe bags. |
Reheating Methods
Reheating steak needs care to keep it tender and flavorful. Don’t microwave it as it can cook unevenly and change the texture. Instead, try gentle oven warming, sous vide for exact doneness, or the reverse sear to bring back the crust.
“The key to reheating steak is to do it gently, so it doesn’t overcook. A low-temperature oven or sous vide machine can be your best friend here.”
For leftover steak, slice it thinly for salads, sandwiches, or stir-fries. The texture won’t be as noticeable in these dishes.
Common Mistakes to Avoid When Cooking Steak
Cooking a perfect pan-fried steak can be tough, even for experts. Many mistakes can ruin a steak, but knowing them can help. Avoiding these errors can lead to a perfectly cooked steak.
Missteps That Can Ruin Your Steak
Starting with a cold steak from the fridge can cause uneven cooking. It’s better to let it warm up to room temperature first. Over-seasoning can also hide the meat’s natural taste. Proper seasoning enhances the flavor without overpowering it. Trimming the steak wrong can lead to flare-ups or curling.
Using a small pan can make the steak steam instead of sear. This affects the texture. Flipping the steak too much can stop a crust from forming. Letting the steak sear undisturbed for a few minutes on each side is key to developing a rich crust.
| Common Mistake | Effect on Steak | How to Avoid |
|---|---|---|
| Cooking cold steak | Uneven cooking | Bring steak to room temperature before cooking |
| Over-seasoning | Masks natural flavor | Season judiciously |
| Using a pan that’s too small | Steaming instead of searing | Choose a pan that’s large enough for the steak |
How to Troubleshoot Cooking Errors
If your steak is cooking too fast, lower the heat to avoid burning. If it’s too salty, try a sauce or side dish to balance the flavors. For an overcooked steak, slicing it thinly against the grain can make it better. Knowing how to fix these mistakes can improve your steak-cooking skills.
Being aware of these mistakes and avoiding them can greatly improve your steak-cooking skills. Whether you’re new or experienced, focusing on these details will help you make a delicious, restaurant-quality pan-fried steak.
Enhancing Your Steak Cooking Skills
Now that you know the basics of cooking steak, it’s time to try new recipes and techniques. Mastering the best cast iron skillet steak is just the start. As you get better, you’ll want to explore more complex flavors and cooking methods.
Recipes to Try Once You Master Cooking Steak
Once you’ve got the hang of cooking steak, it’s time to get creative. Try making a pepper-crusted steak by coating your steak with a mix of crushed peppercorns and spices before searing it in a hot skillet. You can also try coffee-rubbed steak or herb-butter basted steak for unique flavors.
Look into international steak recipes like Italian tagliata with arugula and Parmesan, French steak au poivre, or Asian-inspired soy-ginger steak. These recipes will help you find your own steak cooking style and preferences.
Resources for Further Learning
To keep improving your steak cooking skills, check out these resources:
- Cookbooks focused on meat preparation, such as those by renowned chefs.
- Reputable food websites with tested steak recipes.
- Cooking classes available in your area, where you can learn from experienced chefs.
- YouTube channels featuring professional chefs demonstrating advanced techniques.
By using these resources and practicing, you’ll get better and expand your steak cooking skills. Remember, the key to mastering steak cooking is to keep experimenting and practicing.
Conclusion: Your Journey to Perfect Steak
Learning to cook a steak on the stove takes practice, patience, and detail. You’ve learned it’s about using quality ingredients, controlling temperature, and timing. This helps you get the steak just right.
Practicing for Perfection
With every try, you’ll get better and find your own way to cook steak. You might try new seasonings, get the doneness just right, or make it look great. The most important thing is to keep trying and stay focused.
Tips for Continued Success
To keep making great steaks, prepare everything before you start. Stay focused while cooking, and trust your instincts as you get more experience. Soon, you’ll be making steaks that are as good as those in fancy restaurants.
FAQ
What is the best type of steak to cook on the stove?
How do I achieve a perfect sear on my steak?
What is the ideal internal temperature for cooking steak?
How long should I rest my steak after cooking?
Can I use butter for cooking steak on the stove?
How do I reheat leftover steak without overcooking it?
What are some common mistakes to avoid when cooking steak on the stove?
How can I enhance the flavor of my pan-seared steak?
For more cooking tips, stay connected with us. We also recommend the cookbook Skinnytaste Simple: Easy, Healthy Recipes with 7 Ingredients or Fewer
For more Recipes about Steak ?
Did You try our recipe ?
There are no reviews yet. Be the first one to write one.