How to Cook Well Done Steak in Oven: A Step-by-Step Guide
Table of Contents
How to Cook Well Done Steak in Oven: A Step-by-Step Guide
There’s something deeply satisfying about slicing into a juicy, caramelized steak that’s cooked exactly how you like it. But let’s be honest – achieving that ideal balance of crust and tenderness can feel like a guessing game. Maybe you’ve ended up with dry, chewy results before, or struggled to lock in those rich flavors. You’re not alone.
This guide removes the mystery. We’ll walk through a foolproof method combining stovetop searing and oven roasting – a technique praised by chefs like Jamielyn Nye and Billy Parisi. Whether you prefer classic cast iron or stainless steel, you’ll learn how to control heat, timing, and seasoning for consistent results.
Expect exact temperatures, precise cooking durations, and insider tricks to avoid common pitfalls. From selecting the right cut to monitoring internal doneness, every detail matters. Soon, you’ll confidently serve steaks with a crispy exterior and evenly cooked interior, tailored to your taste.
Key Takeaways
- Combining stovetop searing with oven roasting ensures even cooking and deep flavor development.
- Use an oven-safe skillet (cast iron recommended) for seamless transition between cooking stages.
- Monitor internal temperatures closely – 150-155°F delivers optimal results for well-done preferences.
- Resting meat for 5-7 minutes after cooking preserves juiciness and texture.
- Chef-approved seasoning blends enhance natural beef flavors without overpowering.
Essential Ingredients and Equipment
Success starts long before your steak hits the pan. The right combination of premium ingredients and reliable tools separates passable results from restaurant-quality meals.
Selecting the Perfect Steak Cut
Thick, marbled cuts like ribeye excel in dry heat methods. Their fat content melts during roasting, keeping meat tender while developing flavor. Look for 1.5-inch thickness – this ensures even cooking without drying out.
Kosher salt and coarse black pepper form the foundation of your seasoning. These simple elements draw moisture to the surface, creating that crave-worthy crust when seared.
Choosing the Right Skillet and Oven Tools
A heavy skillet (cast iron preferred) retains heat for consistent browning. Always preheat oven and pan together – this prevents temperature drops when transferring meat.
| Oil Type | Smoke Point | Best For |
|---|---|---|
| Avocado | 520°F | High-heat searing |
| Canola | 400°F | Versatile cooking |
| Light Olive | 465°F | Balanced flavor |
Pair your pan with a digital meat thermometer. This tool removes guesswork, helping you hit precise internal temperatures every time.
Preparing Your Steak for Optimal Cooking
The secret to perfect results lies in thoughtful preparation. Skipping these steps often leads to uneven cooking or lackluster texture. Professional kitchens prioritize this phase, and so should you.
Bringing Steak to Room Temperature
Cold meat cooks unevenly. Let your steaks rest on the counter for 15-30 minutes. This bridges the temperature gap between fridge-chilled centers and searing-hot pans.
Drying and Seasoning for a Crusty Finish
Pat surfaces dry with paper towels. Moisture creates steam, preventing caramelization. Generously apply salt and coarse pepper – these minerals draw out moisture for better browning.
| Step | Action | Benefit |
|---|---|---|
| 1 | Rest at room temperature | Even heat distribution |
| 2 | Dry thoroughly | Crispy exterior |
| 3 | Season liberally | Flavor enhancement |
For deeper flavor, try dry brining. Apply seasoning 40 minutes before cooking. This technique draws moisture out, then pulls it back in with dissolved spices.
Remember: Proper prep prevents chewy textures. Your patience rewards you with tender, evenly cooked steaks every time.
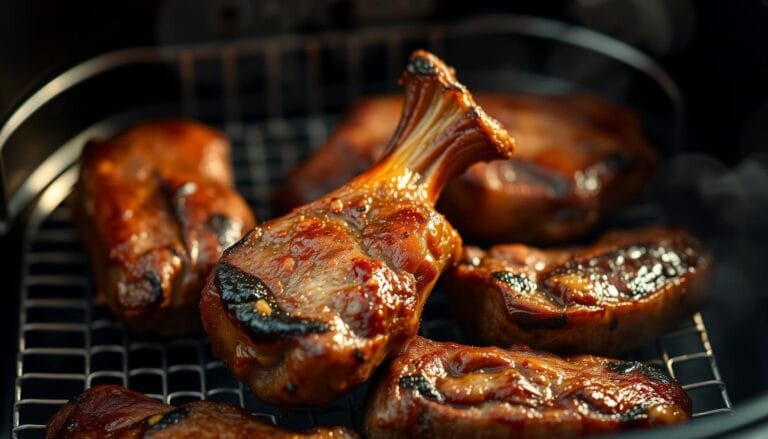
how to cook well done steak in oven
The transformation from raw cut to restaurant-quality dish hinges on two crucial stages. Proper execution here determines whether you’ll savor a flavor-packed masterpiece or endure a lackluster meal. Let’s break down the science-backed methods professionals rely on.
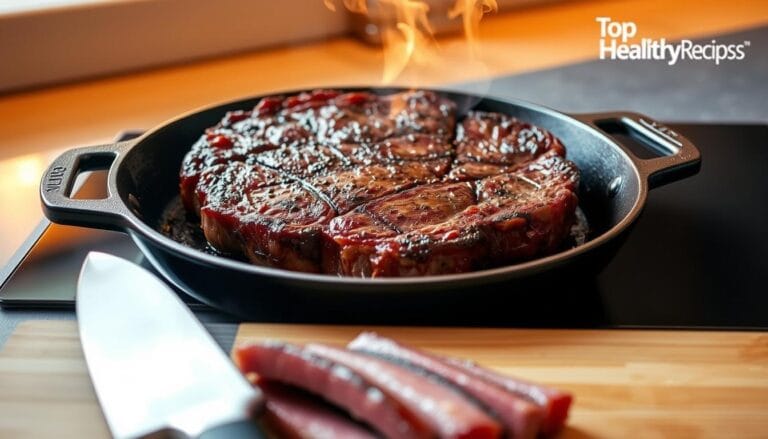
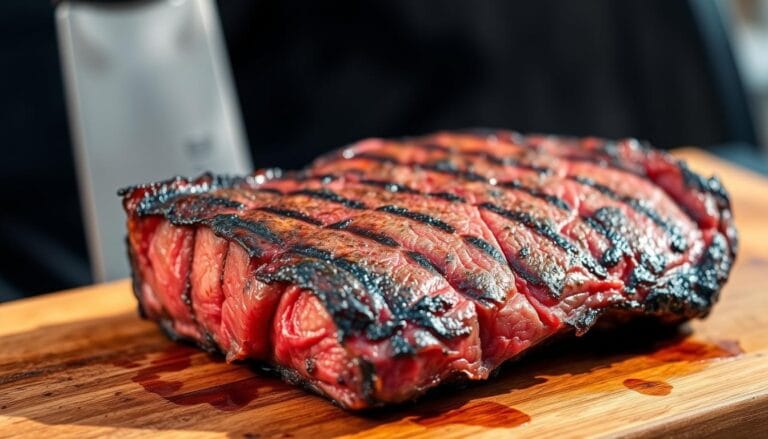
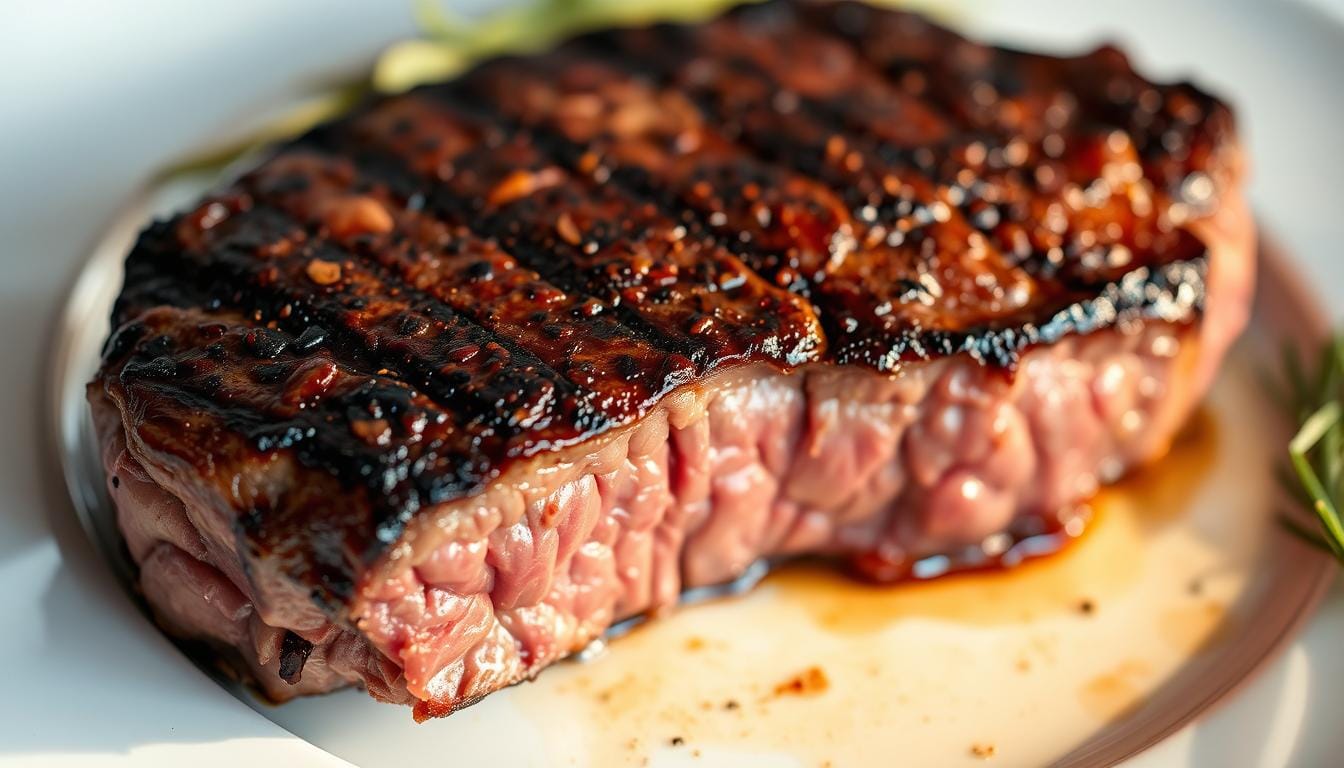
Searing for a Deep Caramelized Crust
Smoke signals success. Heat your skillet oven until oil shimmers – about 450°F surface temperature. Place seasoned meat carefully away from your body to avoid splatter. Resist moving it for 2-3 minutes while the Maillard reaction works its magic.
“A perfectly seared crust is the hallmark of a masterful cook,” notes Chef Michael Sullivan. “It’s where flavor gets locked in and texture becomes unforgettable.”
Flip using tongs – never pierce with forks. Juices stay trapped when you minimize surface punctures. Watch for these visual cues:
| Stage | Appearance | Action |
|---|---|---|
| Initial Contact | Sticking to pan | Wait 30 seconds |
| Ready to Flip | Releases easily | Check crust color |
| Perfect Finish | Deep brown | Transfer immediately |
Transitioning from Stovetop to Oven
Your preheated appliance becomes the finishing partner. Slide the searing-hot skillet directly onto the middle rack. This maintains consistent heat exposure while the interior cooks through.
Set timers based on thickness:
- 1-inch cuts: 6-8 minutes at 425°F
- 1.5-inch cuts: 9-11 minutes
- 2-inch cuts: 12-14 minutes
Confirm doneness with a meat thermometer before resting. The target? 150°F for juicy results that still meet well-done preferences.
Temperature & Timing: Achieving a Perfect Well Done Steak
Precision transforms good results into exceptional ones. Mastering heat management separates dry, overcooked meat from juicy, flavorful cuts. Let’s explore the science behind timing and temperature control.
Using a Meat Thermometer for Accuracy
Digital thermometers eliminate guesswork. Insert the probe into the thickest part of the meat, avoiding bones or fat pockets. For well-done preferences, remove your cut at 155°F – internal heat rises 5°F during resting.
| Thickness | Oven Time | Target Temp |
|---|---|---|
| 1 inch | 12-14 min | 150-155°F |
| 1.5 inch | 15-18 min | 152-157°F |
| 2 inch | 19-22 min | 155-160°F |
Thicker cuts require lower oven temperatures (375°F vs 425°F) to prevent charring. Convection ovens cook 25% faster – reduce time by 3-4 minutes if yours has this feature.
Resting matters as much as cooking. Let meat sit 7 minutes tented with foil. This allows juices to redistribute, preventing dryness when sliced. Pro tip: Check multiple spots with your thermometer for consistent results.
Creating a Flavorful Crust and Rich Juices
The magic of a mouthwatering steak lies in two key elements: a crisp exterior and succulent interior. Understanding the chemistry behind these transformations elevates your results from ordinary to extraordinary.
The Science Behind the Maillard Reaction
When high heat meets seasoned meat, amino acids and sugars undergo the Maillard reaction. This chemical process creates hundreds of flavor compounds, forming that irresistible golden-brown crust. Temperatures above 300°F trigger this transformation – one reason proper pan preheating matters.
Chef Marcus Meacham explains:
“That sizzle you hear isn’t just theater. It’s proteins rearranging into complex flavors that make every bite memorable.”
Incorporating Butter, Herbs, and Seasonings
Butter introduces richness while lowering pan temperature. Add it during the last 2 minutes of cooking to prevent burning. Tilt the skillet and baste continuously – this coats the surface with herb-infused fats for layered flavor.
| Fat Type | Best Use | Flavor Impact |
|---|---|---|
| Unsalted Butter | Finishing baste | Rich, creamy notes |
| Olive Oil | Initial sear | Fruity undertones |
| Beef Tallow | High-heat cooking | Intense meatiness |
Fresh rosemary and thyme release aromatic oils when heated. Crush garlic cloves lightly before adding – this exposes more surface area for flavor extraction. For personalized ingredients adjustments:
- Swap herbs for smoked paprika or citrus zest
- Use ghee instead of butter for higher smoke points
- Add capers or anchovies for umami complexity
Proper technique locks in juices while building flavor layers. The result? A tender juicy interior surrounded by a crackling exterior – exactly what separates good steaks from legendary ones.
Alternative Methods and Recipe Variations
Variety fuels culinary creativity. While the skillet-oven method delivers reliable results, exploring different approaches helps you adapt to ingredient availability and personal preferences.

Heat Source Showdown: Skillet vs Sheet Pan
The skillet oven technique excels at heat retention, letting you sear and roast in one vessel. Traditional sheet pan methods work better for multiple portions but require longer preheating. Consider these factors:
| Method | Best For | Adjustment Needed |
|---|---|---|
| Skillet | Single steaks | None |
| Sheet Pan | 3+ portions | Increase cook time by 4 minutes |
Cut-Specific Customizations
Thicker filet mignon benefits from lower oven temps (375°F) to preserve tenderness. Leaner sirloin needs higher heat (425°F) to develop crust. Marbled ribeye shines with simple salt-and-pepper seasoning to highlight natural richness.
Oil choices impact flavor and safety:
- Avocado: Best for high-heat searing (520°F smoke point)
- Light olive: Balanced option for medium temps
- Ghee: Adds nutty notes to beef
For no-sear preparations, crank oven heat to 450°F and extend cooking by 6-8 minutes. Dietary swaps? Use coconut aminos instead of soy sauce, or smoked paprika for added depth without salt.
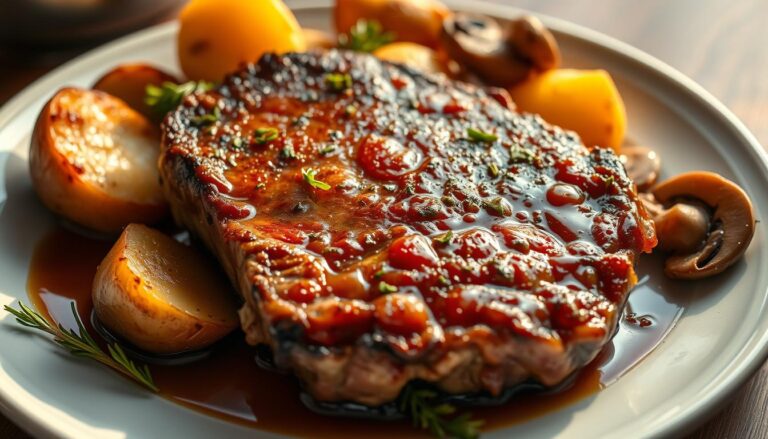
Complementary Side Dishes and Pairings
The right accompaniments turn a great meal into an unforgettable experience. Balanced sides enhance your main dish without competing for attention, creating harmony on the plate.
Classic Potato Sides and Vegetables
Roasted garlic potatoes shine when cooked in the same pan after searing. The residual beef flavors infuse into crispy edges. For faster prep, try smashed baby potatoes with rosemary and olive oil.
| Side Dish | Preparation Tip | Flavor Boost |
|---|---|---|
| Mashed Potatoes | Use warm cream | Roasted garlic |
| Green Beans | Blanch first | Toasted almonds |
| Asparagus | Roast at 425°F | Lemon zest |
Charred asparagus develops natural sweetness that contrasts rich beef flavors. Toss vegetables in olive oil while your oven preheats – they’ll roast while the meat rests.
Enhancing Flavors With Simple Accompaniments
A sprinkle of coarse black pepper elevates buttery rolls or focaccia. For casual dinners, serve roasted veggies straight from the sheet pan. Special occasions call for truffle-parmesan fries or horseradish cream.
Time sides to finish during the steak’s 7-minute resting period. This ensures everything reaches the table at ideal temperatures. Keep serving dishes in a warm room to maintain heat without overcooking.
Tips for Maintaining Steak Juiciness and Tender Texture
Your steak’s journey doesn’t end when it leaves the heat. What happens next determines whether you’ll enjoy a succulent bite or face disappointment at the cutting board. Mastering these final steps ensures every slice lives up to expectations.

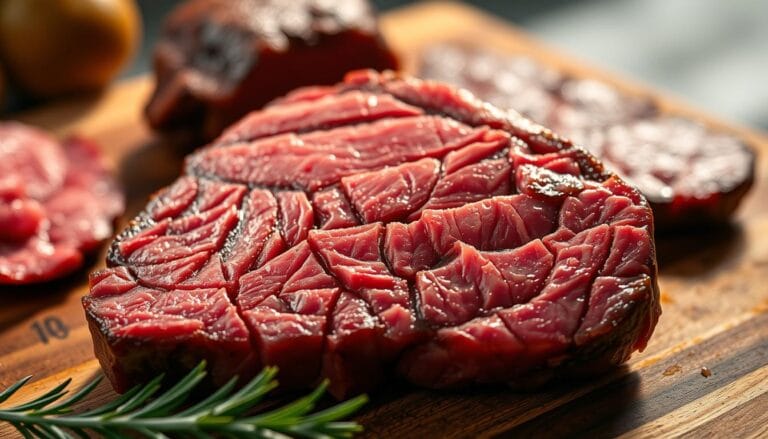
Proper Resting and Slicing Techniques
Resist slicing immediately after cooking. Let meat rest 5-7 minutes on a warm plate. This pause allows muscle fibers to relax, letting juices spread evenly rather than pooling on your cutting board.
Identify the grain direction before cutting. Position your knife perpendicular to those lines for shorter muscle fibers. This technique transforms potentially chewy bites into tender juicy portions.
| Steak Thickness | Rest Time | Serving Tip |
|---|---|---|
| 1 inch | 5 minutes | Slice diagonally |
| 1.5 inches | 7 minutes | Use serrated knife |
| 2 inches | 10 minutes | Double-check grain |
Don’t discard pan drippings. Combine them with red wine or broth over low heat for an instant sauce. A pat of butter stirred in adds richness to complement your perfectly cook steak.
Consistency matters. Repeat these tips each time you prepare steak, and you’ll notice improved texture in every bite. Remember: Those few extra minutes serving make all the difference between good and exceptional results.
Conclusion
The journey from kitchen to table becomes effortless with this trusted technique. By focusing on quality ingredients and proper tools – like thick-cut meats and cast iron skillets – you set the stage for success. Letting cuts reach room temperature ensures even heat distribution, while precise timing locks in natural juices.
Remember these essentials: Sear at high temperatures for caramelization, finish in the oven for controlled doneness, and always rest meat for 5-7 minutes. A digital thermometer removes guesswork, helping you hit the ideal 150-155°F range consistently.
Don’t hesitate to personalize your recipe. Swap herbs, experiment with side dishes, or try alternative oils for flavor variety. These tips adapt to any kitchen setup while maintaining reliable results.
With practice, you’ll transform everyday meals into restaurant-worthy creations. Trust the process – your patience rewards you with tender, flavorful results every time.
FAQ
What’s the best steak cut for a well-done oven recipe?
Can I use a nonstick skillet for searing steak before baking?
How long should steak rest after cooking?
How do I prevent a well-done steak from becoming tough?
Can I skip searing and cook steak entirely in the oven?
What oils are best for high-heat steak preparation?
How do I check doneness without a thermometer?
What sides pair well with oven-cooked steak?
Can I reheat leftover well-done steak without drying it?
For more cooking tips, stay connected with us. We also recommend the cookbook Skinnytaste Simple: Easy, Healthy Recipes with 7 Ingredients or Fewer
For more Recipes about Beef?
Did You try our recipe ?
There are no reviews yet. Be the first one to write one.