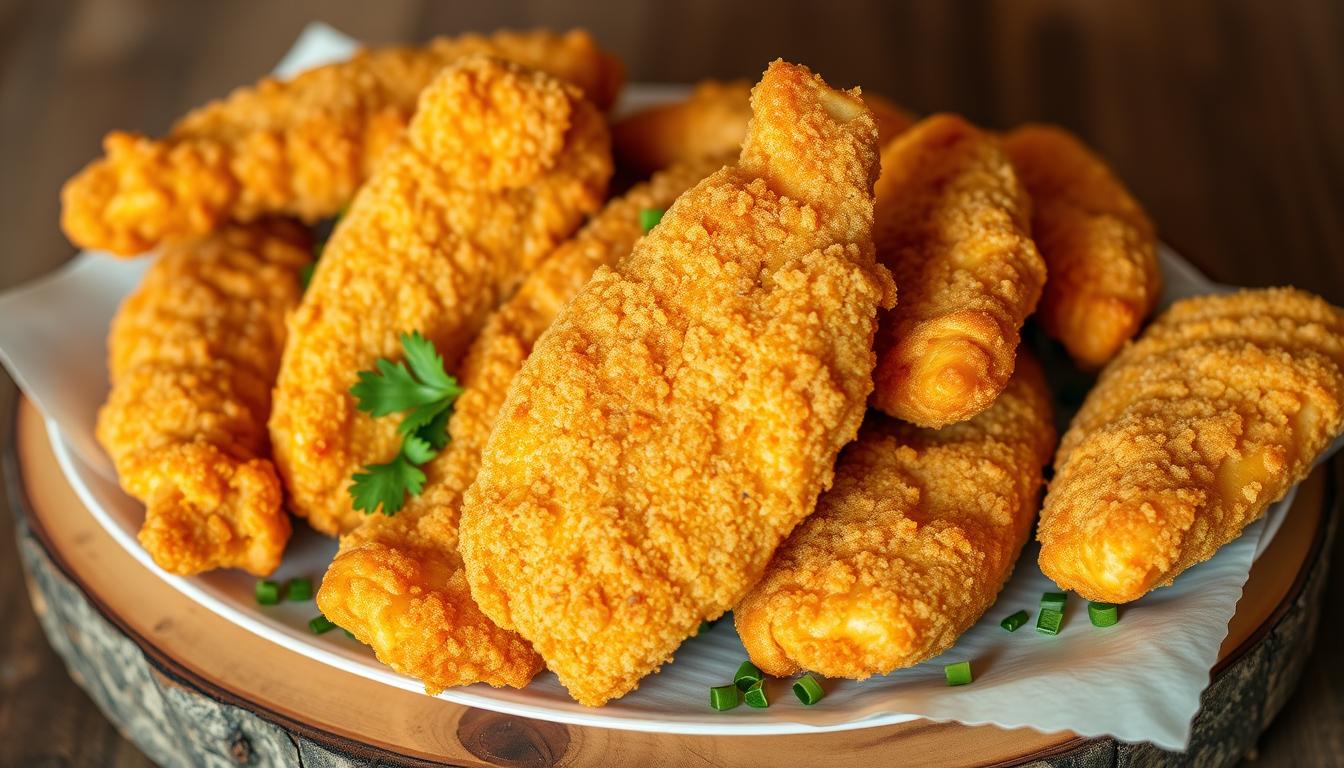
Crispy Chicken Tender Recipe – Easy and Juicy Every Time
Table of Contents
Crispy Chicken Tender Recipe – Easy and Juicy Every Time
Are you tired of dry, flavorless chicken strips from the store? Imagine sinking your teeth into a crispy and juicy strip of tender chicken. It’s perfectly seasoned and cooked to perfection.
With this guide, you’ll learn how to make mouth-watering crispy chicken tenders at home. We’ll cover everything from choosing the best ingredients to mastering different cooking techniques. You’ll get restaurant-quality results in your own kitchen.
Whether you’re cooking for picky kids or making a crowd-pleasing appetizer, this chicken tender recipe is foolproof. Follow our step-by-step instructions and expert tips. You’ll get tenders that taste better and are healthier than store-bought ones.
Key Takeaways
- Learn how to make crispy and juicy chicken tenders at home.
- Discover the best ingredients and cooking techniques for perfect results.
- Master the art of creating delicious variations to suit any taste.
- Troubleshoot common issues to ensure your chicken tenders turn out right every time.
- Impress your family and friends with a crowd-pleasing appetizer or meal.
Why Homemade Chicken Tenders Beat Store-Bought Every Time
Choosing to make chicken tenders at home is a smart move. It’s healthier, cheaper, and tastes better than store-bought ones. Plus, you can pick the ingredients you like best.
Control Over Ingredients is a big plus of homemade chicken tenders. You can pick the best chicken, use healthy oils, and skip additives found in store-bought ones.
Nutritional Benefits of Making Your Own
When you make your own chicken tenders, you can make them healthier. Use lean chicken, whole wheat breading, and bake instead of fry. You can also control the salt and seasonings for better nutrition.
Here’s a comparison of nutritional values between homemade and store-bought chicken tenders:
| Nutritional Component | Homemade Chicken Tenders | Store-Bought Chicken Tenders |
|---|---|---|
| Calories | 250 | 320 |
| Sodium (mg) | 350 | 550 |
| Fat (g) | 8 | 12 |
| Protein (g) | 35 | 25 |
Cost Comparison: Homemade vs. Restaurant
Making chicken tenders at home saves a lot of money. Buying ingredients in bulk and making more at once can cut costs. For a family of four, it can save hundreds of dollars a year compared to eating out.
Let’s look at a basic cost comparison:
| Item | Cost per Serving (Restaurant) | Cost per Serving (Homemade) |
|---|---|---|
| Chicken Tenders | $8.50 | $2.50 |
| Additional Sides | $4.00 | $1.00 |
| Total | $12.50 | $3.50 |
Making homemade chicken tenders is not just healthier and tastier. It also saves money. Considering both health and cost, homemade chicken tenders are the better choice.
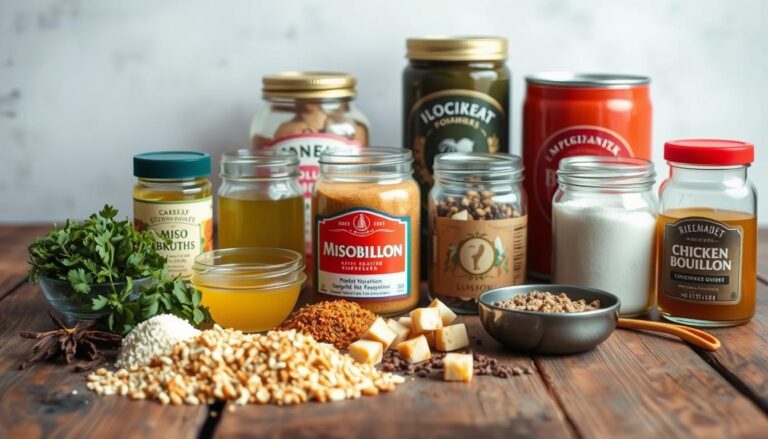
Essential Ingredients for the Perfect Chicken Tender Recipe
To make the perfect chicken tender recipe, start with the right ingredients. You need to focus on three main areas: the chicken, the breading, and flavor enhancers.
Choosing the Right Chicken Cuts
For the best results, use chicken breast tenderloins. They are naturally tender and have a consistent texture. If tenderloins are not available, you can use boneless, skinless chicken breasts. Just slice them into strips to get the tenderloin shape.
Make sure the pieces are uniform. This ensures they cook evenly.
The Best Breading Components
The breading is key for a crispy exterior. You’ll need:
- Flour: Use all-purpose flour or rice flour for an extra crispy coating.
- Breadcrumbs: Panko breadcrumbs are best for their light, airy texture.
- Eggs: They help the breadcrumbs stick to the chicken.
- Buttermilk: Marinating in buttermilk before breading tenderizes the meat and adds flavor.
For an extra tenderizing effect, brine your chicken before breading.
Secret Ingredients for Extra Flavor
To make your chicken tenders even better, add some secret ingredients to your breading:
- Cornstarch: It enhances crispiness.
- Baking powder: A small amount makes the coating lighter and crisper.
- Spice combinations: Try different herbs and spices for unique flavors.
By mixing these ingredients carefully, you can make an easy chicken tender recipe that’s as good as restaurant tenders.
Equipment You’ll Need for Crispy Results
To make crispy chicken tenders, you need the right tools. It’s not just about a good recipe. You also need the right equipment for the perfect crunch.
Must-Have Kitchen Tools
You’ll need basic kitchen tools for this. Mixing bowls help you coat your chicken evenly. Tongs are key for handling raw chicken safely.
Baking sheets with parchment paper are essential for baking. They make cleanup easy and prevent sticking. A meat thermometer ensures your chicken is cooked right. Paper towels help drain oil from fried chicken. A wire rack keeps your chicken crispy by letting air circulate.
| Tool | Purpose |
|---|---|
| Mixing Bowls | Breading Station |
| Tongs | Handling Raw Chicken |
| Baking Sheets | Oven Baking |
| Meat Thermometer | Checking Internal Temperature |
| Paper Towels | Draining Excess Oil |
| Wire Rack | Maintaining Crispiness |
Optional Equipment for Professional Results
For better results, consider these optional tools. A deep fryer keeps oil temperature steady. Specialized breading trays make coating easier. An air fryer is a healthier way to get crispy chicken.
A digital thermometer helps control temperature. These tools can improve your cooking and make your chicken tenders more consistent.
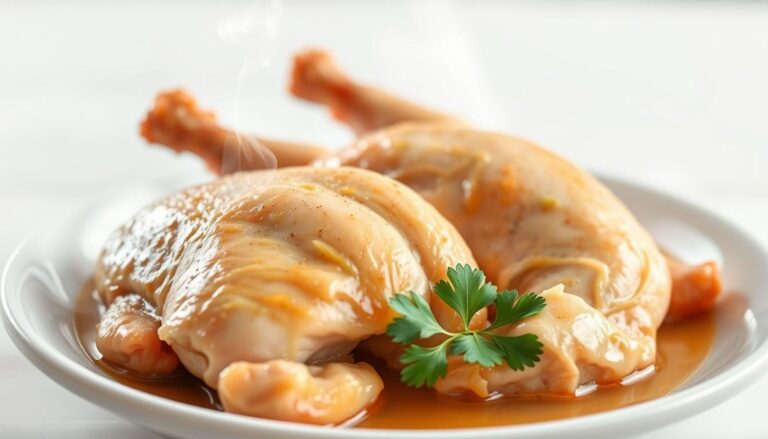
Preparing Your Chicken for Maximum Juiciness
To make your homemade chicken tenders juicy and flavorful, start with the right preparation. This step is key to getting the perfect mix of texture and taste. It involves a few important steps that might seem simple but are essential for making your chicken tenders stand out.
Trimming and Cutting Techniques
First, trim and cut your chicken correctly to get uniform, juicy tenders. If using chicken breast, remove any excess fat or connective tissue to avoid toughness. For chicken tenderloins, it’s important to remove the tendon to prevent toughness.
Cutting your chicken into strips of the same size ensures they cook evenly. This prevents some tenders from getting overcooked while others stay undercooked.
- Cut chicken into strips of similar size for even cooking.
- Remove any visible fat or tendons to improve texture.
- Use a sharp knife to make clean cuts, reducing damage to the meat.
The Magic of Brining
Brining your chicken tenders before cooking can make them juicier. The process involves soaking the chicken in a saltwater solution, which helps lock in moisture. A basic brine can be made with water, salt, and flavorings like sugar, herbs, or spices.
For best results, brine your chicken tenders for at least 30 minutes. Longer times can make them even juicier during cooking.
A typical brine ratio is 1 tablespoon of salt for every cup of water. You can adjust this to your taste, but this ratio is a good starting point. Brining is a simple yet effective way to keep your homemade chicken tenders juicy.
Buttermilk Marinade Benefits
Marinating your chicken tenders in buttermilk is another great way to make them juicy. The acidity in buttermilk tenderizes the chicken, making it more tender. It also helps any seasonings or breading stick to the chicken, improving flavor and texture.
A simple buttermilk marinade can be made by mixing buttermilk with herbs and spices. Soak the chicken tenders for at least an hour or overnight for more intense flavor. Using buttermilk chicken tenders adds extra juiciness and flavor to your homemade chicken tenders.
The Ultimate Chicken Tender Recipe Step-by-Step
Now, let’s dive into the ultimate chicken tender recipe step-by-step. This guide will show you how to make mouth-watering, crispy chicken strips. They will satisfy any appetite.
Preparing the Marinade
To begin, prepare a buttermilk-based marinade. In a large bowl, mix 1 cup of buttermilk, 1 tablespoon of hot sauce (optional), 1 teaspoon of garlic powder, 1 teaspoon of onion powder, 1 teaspoon of paprika, and 1/2 teaspoon of salt. Make sure to mix well. Add your chicken tenders, ensuring they’re fully coated. Cover and refrigerate for at least 30 minutes, but 2-4 hours is best for flavor.
Creating the Perfect Breading Station
While your chicken marinates, set up your breading station. You’ll need three parts: a flour mixture, an egg wash, and a final coating. For the flour mixture, mix 1 cup of all-purpose flour, 1/2 cup of cornstarch, 1 teaspoon of paprika, 1 teaspoon of garlic powder, and 1/2 teaspoon of salt in a dish. In another, whisk 2 large eggs and 1 tablespoon of water until smooth. For the final coating, mix 1 cup of panko breadcrumbs with 1/2 cup of grated Parmesan cheese in a third dish.
Coating Techniques for Maximum Crispiness
To get the crispiest chicken, follow these coating techniques. Remove a tender from the marinade, letting excess drip off. Coat it in the flour mixture, then in the egg wash, and lastly in the breadcrumb mixture. Press the crumbs onto the chicken to make them stick. Use the “dry hand, wet hand” method to avoid breading on your fingers. Place the breaded tender on a plate or tray. Repeat with the rest. Let them rest for 10-15 minutes before cooking to help the coating stick.
Cooking Times and Temperatures
The cooking method affects cooking time and temperature. For deep-frying, heat oil to 350°F to 375°F. Fry the chicken for 3-4 minutes per side, until golden brown and 165°F inside. If using an air fryer, cook at 400°F for 5-7 minutes, shaking halfway. For oven-baking, preheat to 400°F and bake for 15-20 minutes, flipping halfway. Always cook to an internal temperature of 165°F for safety.
| Cooking Method | Temperature | Cooking Time |
|---|---|---|
| Deep Frying | 350-375°F | 3-4 minutes per side |
| Air Frying | 400°F | 5-7 minutes |
| Oven Baking | 400°F | 15-20 minutes |
By following these steps and techniques, you’ll make deliciously crispy chicken strips. They’re sure to please.
Three Cooking Methods for Perfect Chicken Tenders
Getting perfect chicken tenders depends on the cooking method you choose. You might want them crispy, juicy, or a mix of both. We’ll look at three ways to cook them: deep-frying, air frying, and baking.
Deep-Frying for Restaurant-Style Results
Deep-frying makes chicken tenders crispy and juicy, just like in restaurants. Choose the right oil, like peanut or vegetable oil, for high heat. Keep the oil at 350-375°F for even cooking and less oil absorption.
Frying in batches helps keep the oil temperature steady. Always be careful with hot oil and keep kids away. With the right care, deep-frying gives you crispy, juicy tenders.
Air Fryer Method for Healthier Options
The air fryer is a healthier choice, cutting fat by up to 70% but keeping tenders crispy. Preheat it to 390°F and cook the chicken for 10-12 minutes, flipping halfway. Use a little oil or non-stick spray to prevent sticking.
This method is perfect for those watching their fat intake. It’s a tasty, healthier option.
Oven-Baked Chicken Tenders
Oven baking is a great way to get crispy tenders without deep-frying. Preheat to 425°F and place tenders on a wire rack over a baking sheet. This helps them brown evenly. A light oil spray can help with browning.
Baking is easy and healthier, making it a top choice for many. It’s a clean and convenient way to cook.
Each cooking method has its benefits. Whether you want crispiness, health, or ease, there’s a method for you.
7 Secrets to Guarantee Juicy Chicken Tenders Every Time
The secret to juicy chicken tenders is knowing a few key things. Whether you’re making a crispy chicken tender recipe or an easy chicken tender recipe, it’s all about the cooking details.
To get the perfect tenders, focus on internal temperature, resting, and moisture. Also, avoid common mistakes that dry out the meat.
The Optimal Internal Temperature
Cooking chicken tenders to 165°F is key for safety and juiciness. A meat thermometer helps you get it right. Overcooking by just a few degrees can make them dry.
| Temperature | Result |
|---|---|
| Below 165°F | Potential food safety risk |
| 165°F | Safe and juicy |
| Above 165°F | Dry and overcooked |
Resting Period Importance
Letting cooked tenders rest for 3-5 minutes is essential. This step helps juices spread evenly, making the meat tender and juicy.
Moisture-Locking Techniques
Double-dredging with a resting period in between locks in moisture. The right breading and cooking temperature seal in the juices.
For an easy chicken tender recipe, try a buttermilk marinade. It adds extra juiciness.
Avoiding Common Drying Mistakes
Don’t cut into tenders too soon, use thin chicken, and avoid overcrowding. Also, store them properly to keep them juicy.
By following these tips, you can make juicy chicken tenders every time. Whether you’re using a crispy chicken tender recipe or another favorite.
Troubleshooting Common Chicken Tender Problems
Homemade chicken tenders can face common problems. Issues like breading falling off, tenders being undercooked or overcooked, or becoming soggy can happen. But, knowing the causes and fixing them can make your homemade chicken tenders crispy and tasty every time.
Why Your Breading Falls Off (and How to Fix It)
There are a few reasons why breading might fall off your chicken tenders. Moisture, temperature differences, or not dredging right can cause it. To avoid this, make sure your chicken is dry before you bread it. Letting the breaded tenders rest for a few minutes before cooking helps the coating stick better. It’s also important to keep the oil at the right temperature when frying.
| Cause | Solution |
|---|---|
| Moisture | Dry chicken before breading |
| Improper dredging | Press coating onto chicken |
| Incorrect oil temperature | Use thermometer to check oil temperature |
Solving Undercooked or Overcooked Issues
Undercooked chicken tenders are pink inside or feel soft. Overcooked ones are dry and tough. To fix undercooked tenders, just heat them up until they’re 165°F (74°C) inside. For overcooked ones, a rich sauce can help hide their dryness.
“The key to perfectly cooked chicken tenders lies in not overcooking them.”
Rescuing Soggy Tenders
Sogginess in chicken tenders can come from not draining well, stacking hot tenders, or wrong cooking temperatures. To fix soggy tenders, reheat them in a hot oven on a wire rack for a few minutes. This can make them crispy again. For better results next time, drain well and don’t stack the tenders.
By tackling these common problems, you can make crispy chicken tenders that are both tasty and satisfying every time.
Delicious Dipping Sauce Recipes
Take your chicken tenders to the next level with our easy-to-make dipping sauce recipes. These sauces are designed to enhance the flavor of your crispy chicken strips. They don’t require a lot of time or rare ingredients.
Classic Honey Mustard
A mix of honey, Dijon mustard, mayonnaise, and lemon juice makes a sweet and tangy sauce. You can adjust the mix to your liking, making it sweeter or tangier. This sauce is perfect with your chicken, adding a rich flavor.
- Mix 2 tablespoons of honey with 1 tablespoon of Dijon mustard
- Add 1 tablespoon of mayonnaise and a squeeze of fresh lemon juice
- Adjust to taste and refrigerate for at least 30 minutes before serving
Spicy Buffalo Sauce
Make an authentic spicy buffalo sauce by mixing hot sauce, melted butter, vinegar, Worcestershire sauce, and garlic powder. It’s great for those who like a little heat with their chicken. You can adjust the heat to your liking by changing the hot sauce amount.
- Mix 1/2 cup of hot sauce with 1/4 cup of melted butter
- Add 1 tablespoon of vinegar and 1 teaspoon of Worcestershire sauce
- Include a pinch of garlic powder and adjust the heat level to taste
Homemade Ranch Dip
A homemade ranch dip is fresher and more vibrant than store-bought versions. Mix fresh herbs like dill, parsley, and chives with sour cream, buttermilk, and mayonnaise. This tangy and creamy dip is perfect with crispy chicken strips.
- Mix 1 cup of sour cream with 1/2 cup of buttermilk
- Add 1 tablespoon of chopped fresh herbs and 1 tablespoon of mayonnaise
- Refrigerate for at least 30 minutes to allow the flavors to meld
Sweet and Tangy BBQ Sauce
Make a quick homemade BBQ sauce by balancing sweetness from brown sugar and molasses with tanginess from vinegar and tomato. Add smokiness from paprika and optional liquid smoke. This sauce is great with your chicken, adding a complex flavor.
- Mix 1/2 cup of ketchup with 2 tablespoons of brown sugar
- Add 1 tablespoon of molasses, 2 tablespoons of vinegar, and 1 teaspoon of smoked paprika
- Include a dash of liquid smoke if desired, and adjust to taste

These dipping sauces are easy to make and greatly enhance your chicken tender experience. By making your own, you can customize the flavors to match your chicken perfectly. This ensures a delicious meal every time.
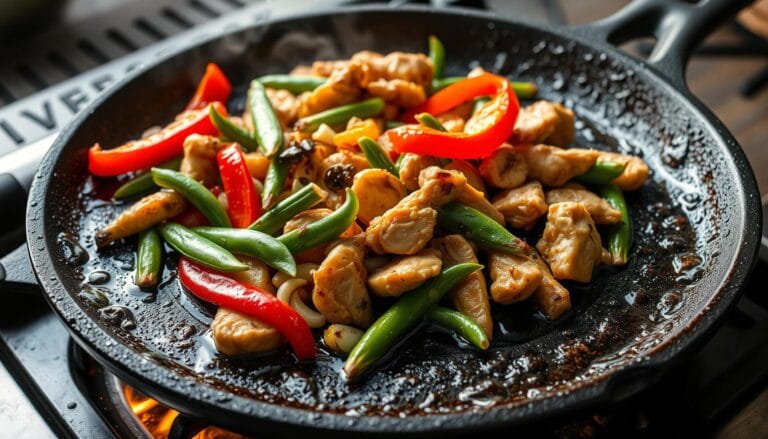
Creative Chicken Tender Variations
Explore new flavors with these four exciting chicken tender variations. They cater to different tastes and dietary needs. Chicken tenders are versatile, making it easy to try new dishes every time.
Spicy Nashville-Style Chicken Tenders
Nashville-style chicken tenders are spicy. They have a breading mix with cayenne pepper, brown sugar, and paprika. Mix these with flour and spices for the authentic taste.
After cooking, brush the tenders with spicy oil. This oil is made from melted butter and hot sauce. Serve with pickles and bread to cool down the spiciness.
“The secret to Nashville-style chicken tenders is in the balance of spices and the quality of the hot sauce used for the spicy oil,” says culinary experts. This variation is perfect for those who enjoy spicy food and are looking for a bold twist on traditional chicken tenders.
Parmesan Garlic Chicken Tenders
Try Parmesan garlic chicken tenders for a savory taste. Add freshly grated Parmesan cheese, garlic powder, and Italian herbs to your breading. The Parmesan adds a rich taste, while the garlic powder adds a deep flavor.
For extra flavor, sprinkle extra Parmesan cheese on the tenders after cooking. This lets it melt and intensify the taste.
Coconut Crusted Chicken Tenders
Add a tropical twist with sweetened shredded coconut in your breading. This mix is sweet and savory. Keep an eye on the cooking temperature and time to get a golden exterior without burning the coconut.
Pair these tenders with a tangy mango salsa or sweet chili sauce. This creates a delightful contrast of flavors.
Gluten-Free Chicken Tenders
Making gluten-free chicken tenders is easy with the right substitutions. Use almond flour, rice flour, or gluten-free panko instead of traditional flour and breadcrumbs. These options are gluten-free and can add unique textures and flavors.
By making a few simple substitutions, you can enjoy crispy and delicious gluten-free chicken tenders. They are just as satisfying as traditional ones.
Kid-Friendly Adaptations of This Chicken Tender Recipe
Turning homemade chicken tenders into a meal kids will love is easy. It’s all about how you present it, the seasonings, and getting them involved. A few tweaks can make this easy chicken tender recipe a hit with kids.
Milder Seasoning Options
For kids who don’t like strong tastes, try a milder seasoning. Use salt, a bit of sugar, and onion powder instead of paprika and garlic. This kid-approved mix is easy on their taste buds but full of flavor.
Fun Shapes and Presentations
Make mealtime exciting by cutting chicken tenders into fun shapes like dinosaurs or stars. You can also serve them in “chicken tender baskets” with colorful liners or arrange them to look like faces. These creative ways can make mealtime more fun for kids.
Getting Kids Involved in the Kitchen
Getting kids to help in the kitchen can make them more open to trying new foods. Kids aged 3+ can mix dry ingredients, those 6+ can dip chicken in egg wash, and kids 10+ can watch the cooking time. This not only teaches them cooking skills but also makes mealtime more fun.
| Task | Age Group |
|---|---|
| Mixing dry ingredients | 3+ |
| Dipping in egg wash | 6+ |
| Monitoring cooking times | 10+ |
By making your homemade chicken tenders more kid-friendly, you can create a meal everyone will enjoy. It’s both tasty and healthy for the whole family.
Nutritional Information and Dietary Considerations
When it comes to baked chicken tenders, the best chicken tender recipe balances taste with health. Knowing the nutritional facts helps you fit it into your diet wisely.
Calorie and Macronutrient Breakdown
Chicken tenders’ nutritional value changes with cooking methods. Deep-frying adds more calories and fat than baking or air-frying. A serving of homemade baked chicken tenders (about 4 pieces) has about 250 calories. It includes 35g of protein, 10g of fat, and 10g of carbs.
Deep-fried tenders, on the other hand, can have up to 400 calories and 20g of fat per serving. Choosing the best chicken tender recipe with healthier cooking methods cuts down on calories.

Making Healthier Chicken Tenders
To make healthier chicken tenders, try using whole wheat flour for breading. Also, reduce sodium in seasonings and add herbs for flavor. Using egg whites instead of whole eggs can lower cholesterol.
These changes make your baked chicken tenders healthier without losing taste.
Adaptations for Special Diets
The best chicken tender recipe can be adjusted for different diets. For keto diets, use almond flour and pork rinds for coating. For paleo diets, try cassava flour and arrowroot.
Dairy-free versions can use coconut milk instead of buttermilk. For low-sodium diets, herbs and spices can replace salt. These changes let everyone enjoy chicken tenders while following their dietary needs.
Meal Prep and Storage Tips
To keep your crispy chicken tenders fresh and delicious, proper meal prep and storage are key. Whether you’re enjoying them later in the week or freezing them for future meals, knowing how to handle them is important.
Freezing Raw Breaded Chicken
For raw breaded chicken tenders, flash-freezing is the secret. Place the breaded tenders on a baking sheet lined with parchment paper, making sure they don’t touch. Freeze them until solid, about 1-2 hours, then put them in airtight containers or freezer bags. This stops them from sticking together.
When you’re ready to cook, fry or bake them straight from the freezer. Just add a few extra minutes to the cooking time.
Reheating Methods That Maintain Crispiness
There are a few ways to reheat cooked chicken tenders and keep them crispy. The oven method works by preheating to 375°F (190°C). Place the tenders on a wire rack over a baking sheet for air circulation. Heat for about 10 minutes or until crispy.
An air fryer can refresh your tenders in just 3-4 minutes at 350°F (175°C). But avoid the microwave, as it makes the coating soggy.
Shelf Life Guidelines
Cooked chicken tenders can stay in the fridge for up to 3-4 days. Cool them completely before storing in an airtight container to prevent moisture. For longer storage, freezing is a good option. Frozen cooked tenders can last up to 3 months.
Always check for signs of spoilage before eating, like off smells or a slimy texture.
| Storage Method | Duration | Reheating Method |
|---|---|---|
| Refrigerator | 3-4 days | Oven or Air Fryer |
| Freezer (Raw) | Up to 3 months | Cook from frozen |
| Freezer (Cooked) | Up to 3 months | Oven or Air Fryer |
Complete Meal Ideas Using Chicken Tenders
Crispy chicken tenders are great for many meals. They work well for weeknight dinners and party platters. By using your homemade chicken tenders in different dishes, you can make lots of tasty meals.
Family-Friendly Weeknight Dinners
Make your crispy chicken tenders into meals your family will love. Here are some ideas:
- Chicken Tender Wraps: Put them in a whole wheat tortilla with avocado, lettuce, and tomato. Prep time: 15 minutes.
- Pasta with Chicken Tenders: Mix cooked pasta with light garlic sauce, steamed broccoli, and chicken tenders. Prep time: 20 minutes.
- Chicken Tender Salad: Top mixed greens with chicken tenders, cherry tomatoes, and a homemade vinaigrette. Prep time: 10 minutes.
- Grain Bowls: Mix quinoa, roasted vegetables, and chicken tenders for a healthy meal. Prep time: 25 minutes.
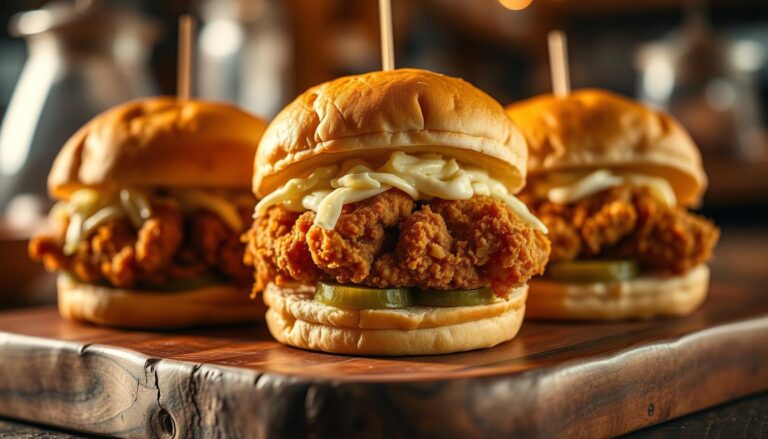
- Chicken Tender Sliders: Serve on small buns with coleslaw and pickles. Prep time: 12 minutes.
These meals are good for you and can be changed to fit your family’s tastes and needs.
Party Platter Presentations
Wow your guests with creative chicken tender displays:
- Chicken Tender Charcuterie Board: Put chicken tenders on a board with dipping sauces, cheese, and crackers. Great for 8-10 guests.
- DIY Chicken Tender Bar: Set up a topping station with sauces, lettuce, tomatoes, and cheese. Guests can make their own tenders. Good for 10-15 guests.
- Themed Presentations: Make sports-themed or kid-friendly displays with sides and dips. Adjust amounts for the number of guests.
For big parties, make more chicken tenders. Keep them warm in a low-temperature oven (around 200°F) until you serve.
Conclusion: Mastering the Art of Homemade Chicken Tenders
Now you know how to make the best chicken tender recipe at home. Enjoying juicy, crispy chicken tenders is now within reach. Making your own chicken tenders means better flavor, control over what you eat, and saving money.
This easy chicken tender recipe is a great base for many meals. It’s perfect for quick dinners or parties. You’ve learned key skills like breading and temperature control, which improve your cooking.
While homemade chicken tenders take more effort than frozen ones, the quality is worth it. As you get better, this recipe will become a staple in your kitchen.
Try out different variations to find your favorite. Learning this recipe is a great way to improve your cooking skills. Start with this simple recipe and see where it takes you in the kitchen.
FAQ
What is the best way to keep chicken tenders crispy?
Can I make chicken tenders without buttermilk?
How do I prevent the breading from falling off my chicken tenders?
What is the ideal internal temperature for cooked chicken tenders?
Can I freeze homemade chicken tenders?
How do I reheat frozen chicken tenders to maintain crispiness?
Are baked chicken tenders healthier than fried ones?
Can I make gluten-free chicken tenders?
For more cooking tips, stay connected with us. We also recommend the cookbook Skinnytaste Simple: Easy, Healthy Recipes with 7 Ingredients or Fewer
For more Recipes about Chicken
Did You try our recipe ?
There are no reviews yet. Be the first one to write one.